
MiniMax H3 Image To Video ComfyUI: first‑frame animation with native audio#
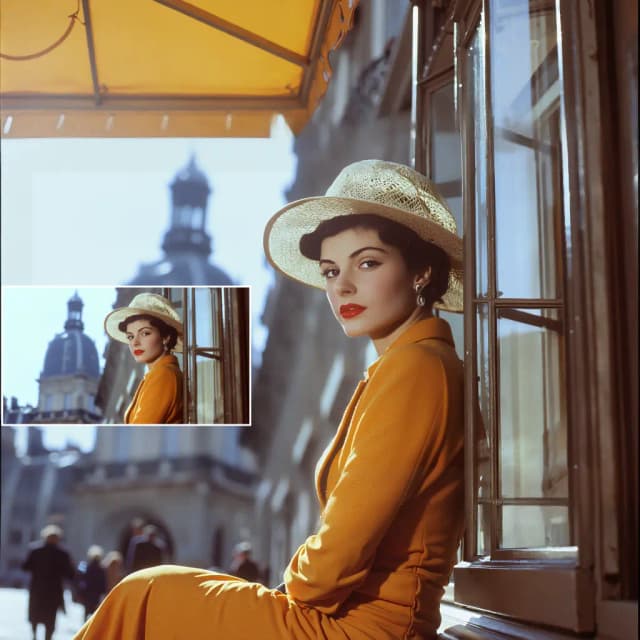
This RunComfy‑ready graph turns a single image into a short cinematic video with synchronized, model‑generated audio. It is a compact, verified first‑frame setup built around MiniMax H3’s FL2VA pathway, so motion and sound are produced together from one prompt rather than layered in post. MiniMax H3 Image To Video ComfyUI is ideal for portraits, animals, products, and atmospheric scenes when you want cohesive camera motion, scene action, and sound design in one pass.
The saved version connects only the first frame and leaves the last frame unconnected. That means the shot evolves from your supplied image without forcing a two‑keyframe transition. You still write a single prompt that guides both visuals and audio, making MiniMax H3 Image To Video ComfyUI fast to iterate and reliable for creative direction.
Key models in Comfyui MiniMax H3 Image To Video ComfyUI workflow#
- MiniMax H3 FL2VA diffusion backbone (UNet). Provides the core video generation capability conditioned by text and keyframes. Model files
- Qwen3‑VL 32B encoder for MiniMax H3 (AWQ/NVFP4). Embeds the prompt so the model can align scene content, motion, and audio cues. Model file
- MiniMax H3 Video VAE. Decodes latent video features back to RGB frames. Model file
- MiniMax H3 Audio VAE. Decodes latent audio to waveform for native soundtrack output. Model file
How to use Comfyui MiniMax H3 Image To Video ComfyUI workflow#
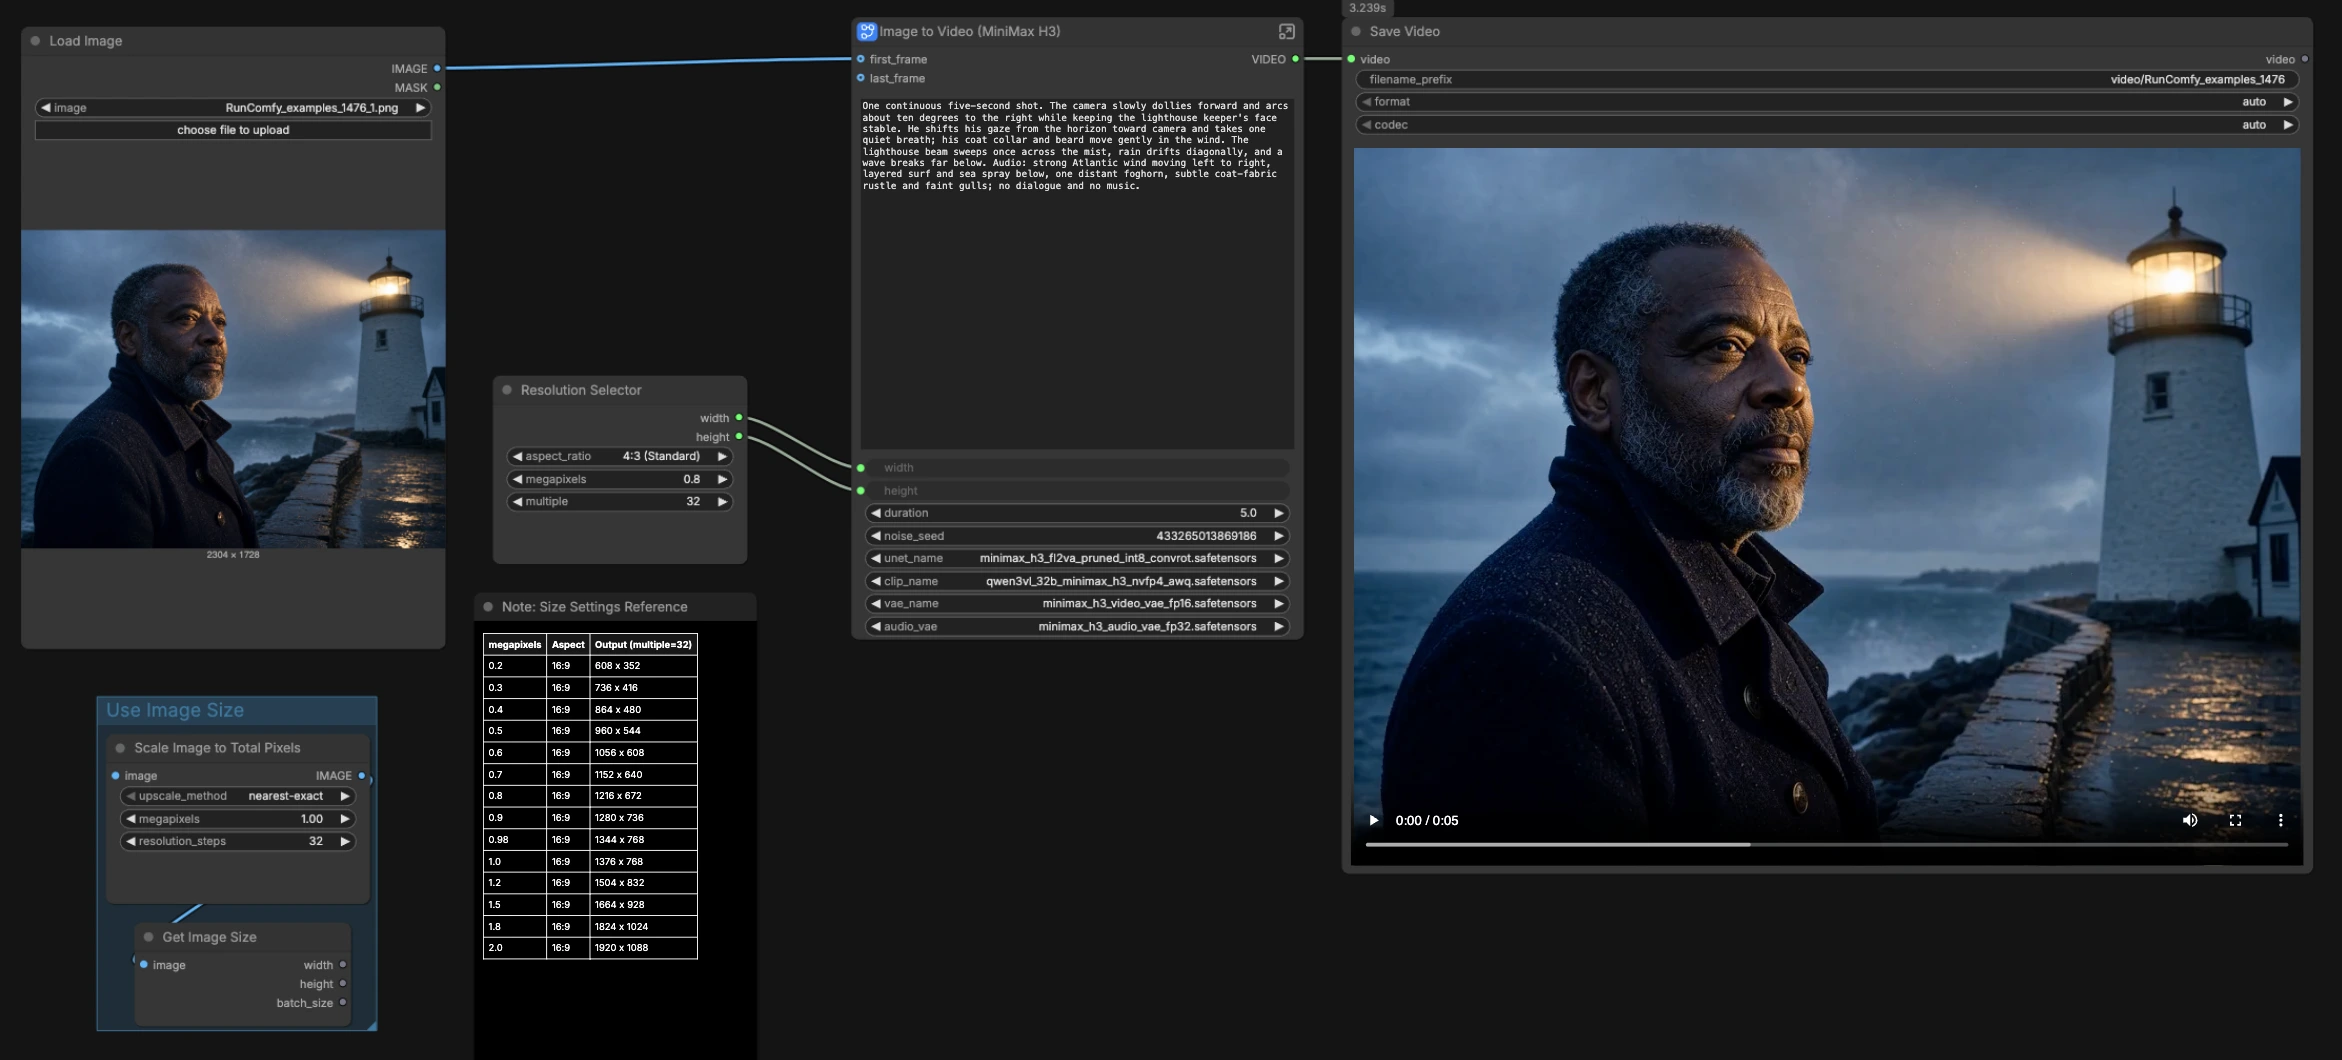
This workflow animates a single keyframe through MiniMax H3 and then multiplexes decoded video and audio into one file. It is organized into small, readable groups so you can set the frame size, write the creative brief, and render. An auxiliary “Use Image Size” utility is included and bypassed by default.
Load your first frame (LoadImage (#114))#
Import the still you want to animate. The graph intentionally leaves last_frame unused so the motion grows from this one image. Choose subjects with clear edges and balanced exposure for best temporal stability. If you later want start‑to‑end interpolation, you can connect a second image to the subgraph’s last_frame input.
Choose the frame size (ResolutionSelector (#115))#
Pick an aspect preset and scale to define width and height. MiniMax H3 works best with dimensions that are multiples of 32 and a moderate short edge. Match the ratio to your composition so the subject remains comfortably framed as the camera moves. If you prefer to mirror the source dimensions exactly, the “Use Image Size” mini‑group can read them, but it is not wired to override the selector in this preset.
Describe and time the shot (MiniMaxH3ImageToVideo (#104) + Float (duration) (#111) + ComfyMathExpression (#107))#
Write one prompt that couples picture and sound: camera moves, subject actions, on‑screen text, ambience, and any constraints like “no dialogue” or “no music.” Set the duration in seconds; the math node converts it into a valid frame length for MiniMax H3’s internal step grid so timing stays consistent. The first‑frame image anchors composition while the model animates motion, lighting, and effects that respect your description. Clear audio cues in the same prompt steer the soundtrack produced during generation.
Sampling and motion feel (RandomNoise (#15) + KSamplerSelect (#17) + BasicScheduler (#9) + SamplerCustomAdvanced (#14))#
Sampling defines how the latent video evolves. The selected sampler and scheduler provide a balanced look; you can fix the seed for repeatable shots or randomize to explore motion alternatives. If you need stronger adherence to framing or action, iterate with seed and wording changes rather than over‑specifying parameters. This keeps MiniMax H3 Image To Video ComfyUI creative yet controllable.
Decode and mux (VAELoader (#11, #24) + VAEDecode + VAEDecodeAudio + CreateVideo (#91))#
After denoising, the video VAE reconstructs frames and the audio VAE reconstructs the soundtrack. CreateVideo merges them into a single, time‑aligned stream. This design preserves sync because both modalities originate from the same generation pass. You preview results quickly without external editors.
Save the result (SaveVideo (#92))#
The final node writes the rendered clip to disk. The output contains both image and native audio from the model, so MiniMax H3 Image To Video ComfyUI gives you a finished file you can share or grade.
Key nodes in Comfyui MiniMax H3 Image To Video ComfyUI workflow#
MiniMaxH3ImageToVideo (#104)#
The heart of the graph. It fuses your prompt, the loaded encoders/VAEs, and the first frame to produce a latent video with synchronized audio. Adjust prompt for scene and sound, width and height for canvas, and length for duration. Keep dimensions as multiples of 32, and use concise audio directives such as “wind gusts, distant surf, no dialogue” to steer the soundtrack.
ComfyMathExpression (#107)#
Converts your chosen seconds into a frame count that aligns with MiniMax H3’s internal timing steps. If beats or on‑screen text must land at precise moments, nudge the duration here and re‑render. This keeps cut points and audio events consistent across iterations.
ResolutionSelector (#115)#
A quick way to target common aspect ratios and pixel budgets without manual math. Choose the ratio that suits your subject and scale it up or down for speed vs detail. If you experience cropping on tall or wide subjects, switch ratios rather than forcing extreme scales.
RandomNoise (#15)#
Controls the initial latent state. Lock the seed to reproduce exact shots or randomize to explore different motion paths and micro‑timing of audio events. For A/B comparisons, change only the seed to isolate its effect.
Optional extras#
- Write audio early in the prompt with short, concrete cues such as “soft rain, fabric rustle, no vocals” so the model balances ambience and action.
- For portraits, center the eyes in the first frame and avoid aggressive background clutter; this improves temporal stability and keeps attention on the subject.
- To match brand or platform needs, choose the aspect ratio first, then refine duration and prompt; MiniMax H3 Image To Video ComfyUI will keep picture and sound in sync as you iterate.
- If you want a two‑keyframe transition later, connect a second image to the subgraph
last_frameinput and describe the cut or movement in the same prompt. - The official ComfyUI MiniMax H3 I2V template is a helpful reference for advanced customization. View template
Acknowledgements#
This workflow implements and builds upon the following works and resources. We gratefully acknowledge MiniMaxAI for the MiniMax H3 model collection, Comfy-Org for the official ComfyUI MiniMax H3 I2V template, and Comfy.org and RunningHub for the MiniMax H3 tutorial and workflow source for their contributions and maintenance. For authoritative details, please refer to the original documentation and repositories linked below.
Resources#
- RunningHub/workflow source
- Docs / Release Notes: RunningHub workflow source
- MiniMaxAI/MiniMax H3 model collection
- Hugging Face: MiniMaxAI/MiniMax-H3
- MiniMax/MiniMax H3 official announcement
- Docs / Release Notes: MiniMax H3 official announcement
- Comfy.org/MiniMax H3 tutorial
- Docs / Release Notes: Comfy.org MiniMax H3 tutorial
- Comfy-Org/ComfyUI official MiniMax H3 I2V template
- GitHub: Comfy-Org/workflow_templates
- Docs / Release Notes: video_minimax_h3_i2v.json
Note: Use of the referenced models, datasets, and code is subject to the respective licenses and terms provided by their authors and maintainers.