PixVerse Transition Video:
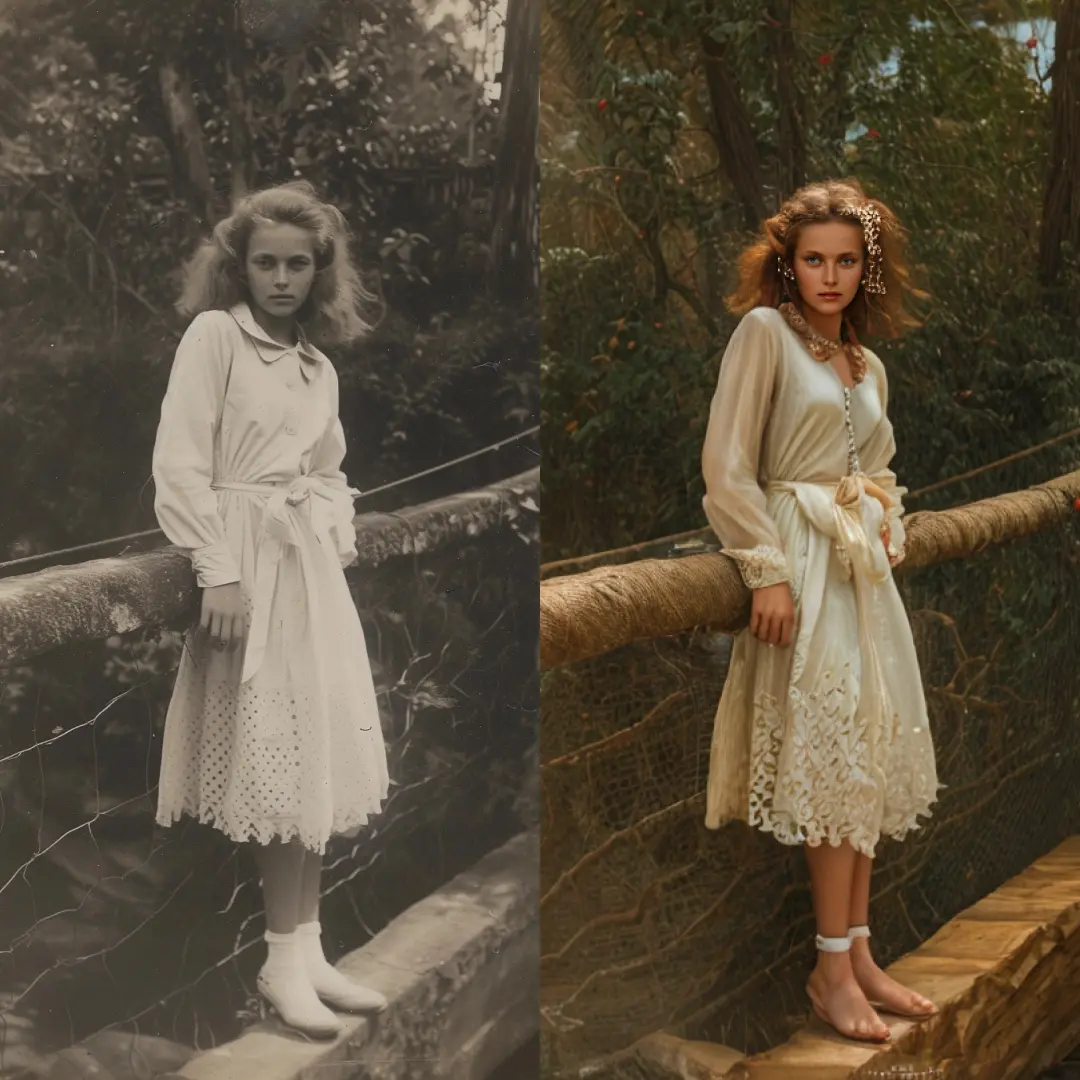
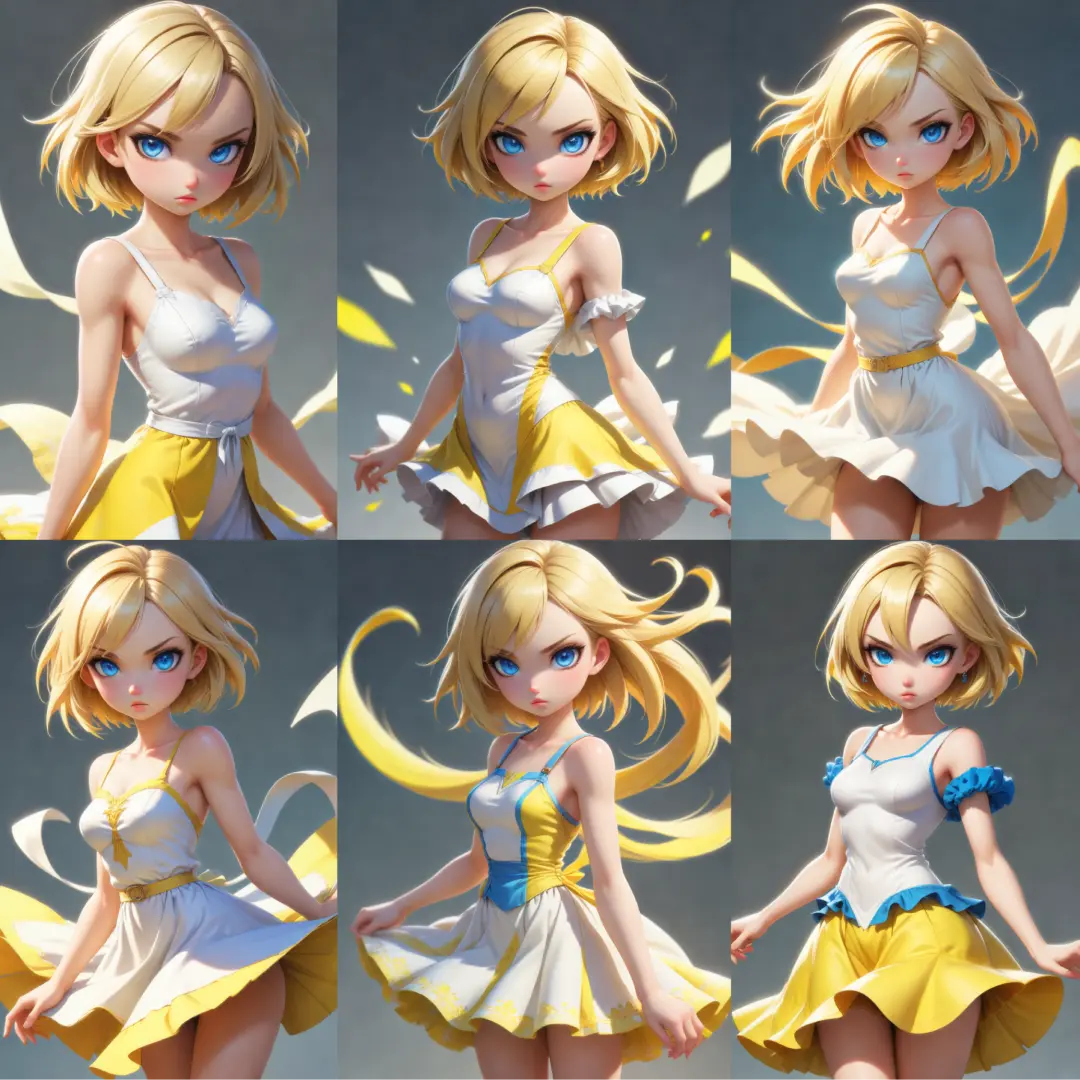
The PixverseTransitionVideoNode is designed to generate transition videos by seamlessly blending two images based on a given prompt and specified output size. This node is particularly useful for creating dynamic visual content that transitions smoothly from one image to another, leveraging AI-driven video generation techniques. By utilizing this node, you can produce high-quality videos that incorporate specified themes or concepts, as dictated by the prompt. The node supports various configurations, such as video quality, duration, and motion mode, allowing for a tailored video creation experience. Its primary goal is to provide a user-friendly interface for generating visually appealing transition videos without requiring extensive technical knowledge.
PixVerse Transition Video Input Parameters:
first_frame
This parameter represents the initial image from which the transition video will begin. It is crucial as it sets the starting visual context for the video. The image should be carefully selected to ensure a smooth transition to the last frame.
last_frame
This parameter is the final image where the transition video will end. It defines the concluding visual context of the video. Like the first frame, the last frame should be chosen to complement the transition process effectively.
prompt
The prompt is a textual description that guides the thematic and stylistic elements of the video generation. It influences the AI's interpretation and the resulting video content. The prompt should be clear and descriptive to achieve the desired video outcome.
quality
This parameter determines the resolution of the generated video. Options include different resolutions, with 540p being the default. Higher resolutions like 1080p are available but may have limitations, such as a maximum duration of 5 seconds.
duration_seconds
This parameter specifies the length of the transition video in seconds. It impacts the pacing and smoothness of the transition between the first and last frames. The duration should be chosen based on the desired effect and video quality constraints.
motion_mode
Motion mode defines the style of movement within the video. The default is normal, which is the only supported mode for 1080p resolution or non-5 second durations. This parameter affects the dynamic feel of the transition.
seed
The seed is an optional integer that influences the randomness of the video generation process. It allows for reproducibility of results. The default value is 0, with a range from 0 to 2147483647.
negative_prompt
An optional parameter that describes elements to avoid in the video. It helps refine the video content by excluding undesired features. This parameter is useful for achieving a more focused and relevant video output.
PixVerse Transition Video Output Parameters:
video
The output is a video file that represents the transition from the first frame to the last frame, guided by the prompt and other input parameters. This video is the final product of the node's processing, showcasing the AI-generated transition effect.
PixVerse Transition Video Usage Tips:
- Ensure that the first and last frames are visually compatible to achieve a smooth transition effect.
- Use a clear and descriptive prompt to guide the video generation process effectively.
- Consider the resolution and duration constraints when selecting video quality and length to optimize performance.
PixVerse Transition Video Common Errors and Solutions:
PixVerse request failed: '<error_message>'
- Explanation: This error occurs when the request to the PixVerse API fails, possibly due to incorrect input parameters or server issues.
- Solution: Verify that all input parameters are correctly set and retry the request. If the issue persists, check for any server-side problems or contact support.
Invalid image format
- Explanation: This error indicates that the provided first or last frame image is not in a supported format.
- Solution: Ensure that the images are in a compatible format, such as JPEG or PNG, and re-upload them.
Duration exceeds limit for selected quality
- Explanation: This error occurs when the selected video duration exceeds the allowed limit for the chosen quality setting.
- Solution: Adjust the video duration to comply with the quality constraints, such as limiting to 5 seconds for 1080p resolution.