
Qwen Image 2.1 Outpainting workflow for seamless image expansion#
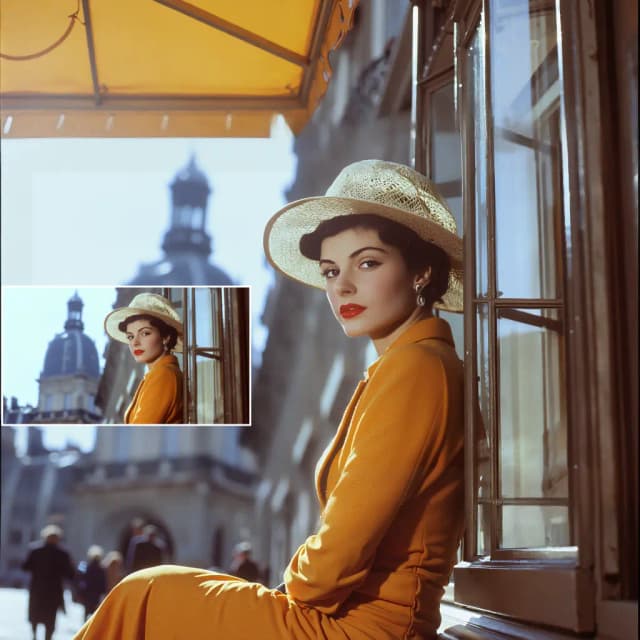
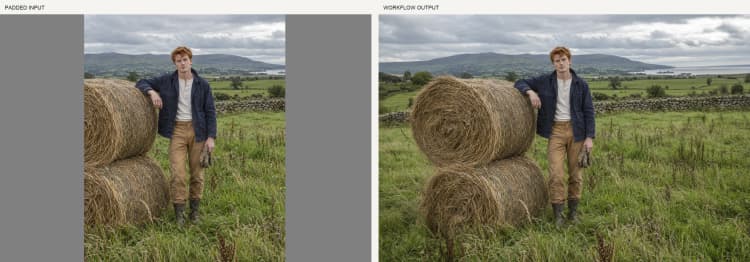
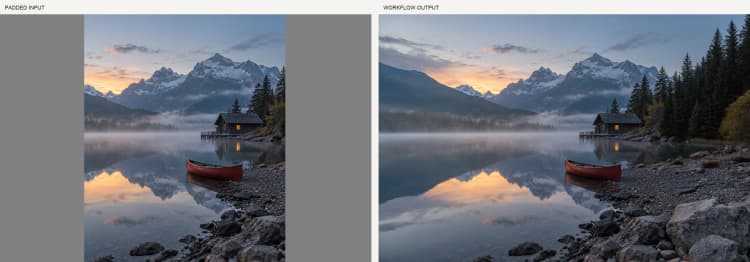
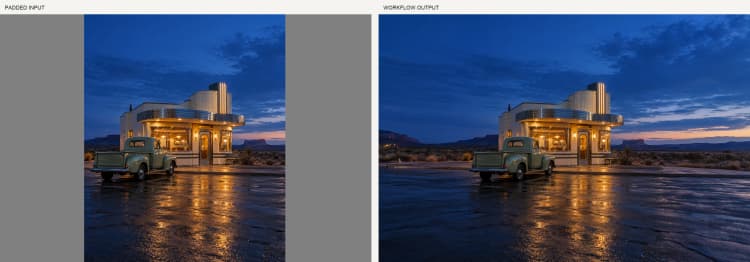
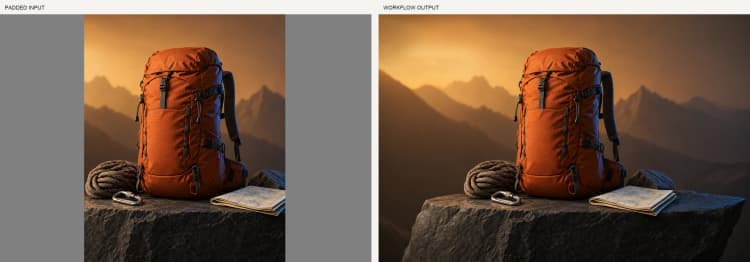
This ComfyUI workflow performs Qwen Image 2.1 Outpainting to expand an image beyond its original borders while preserving the existing content. It combines gray-canvas padding, automatic prompt generation, Qwen Image 2.1, and the Outpaint V2 LoRA to extend scenes left, right, up, or down. It is ideal for wider compositions, taller portraits, and background extensions that keep the source image as the visual anchor.
Designed for creators who want consistent, seam-aware results with minimal prompt engineering, the graph lets you drop in a source image, choose how to pad the canvas, optionally auto-generate a caption, and render clean continuations. The result is fast, repeatable Qwen Image 2.1 Outpainting you can trust for production layouts and social crops.
Key models in Comfyui Qwen Image 2.1 Outpainting workflow#
- Qwen-Image-2.1. The core image generation model that interprets text and image context to synthesize new pixels consistent with the source scene. See the official model card for details and updates: Qwen/Qwen-Image-2.1.
- Qwen-Image-2.1 VAE. The variational autoencoder that decodes the generated latents to RGB for final output. It ships with the Qwen Image 2.1 release and is loaded automatically in the graph.
- Qwen-Image-2.1 Outpaint V2 LoRA by ausboss. A lightweight fine-tune that biases Qwen Image 2.1 toward seam-aware, continuity-preserving outpainting, improving edge coherence and background flow: ausboss/Qwen-Image-2.1-Outpaint-LoRA.
How to use Comfyui Qwen Image 2.1 Outpainting workflow#
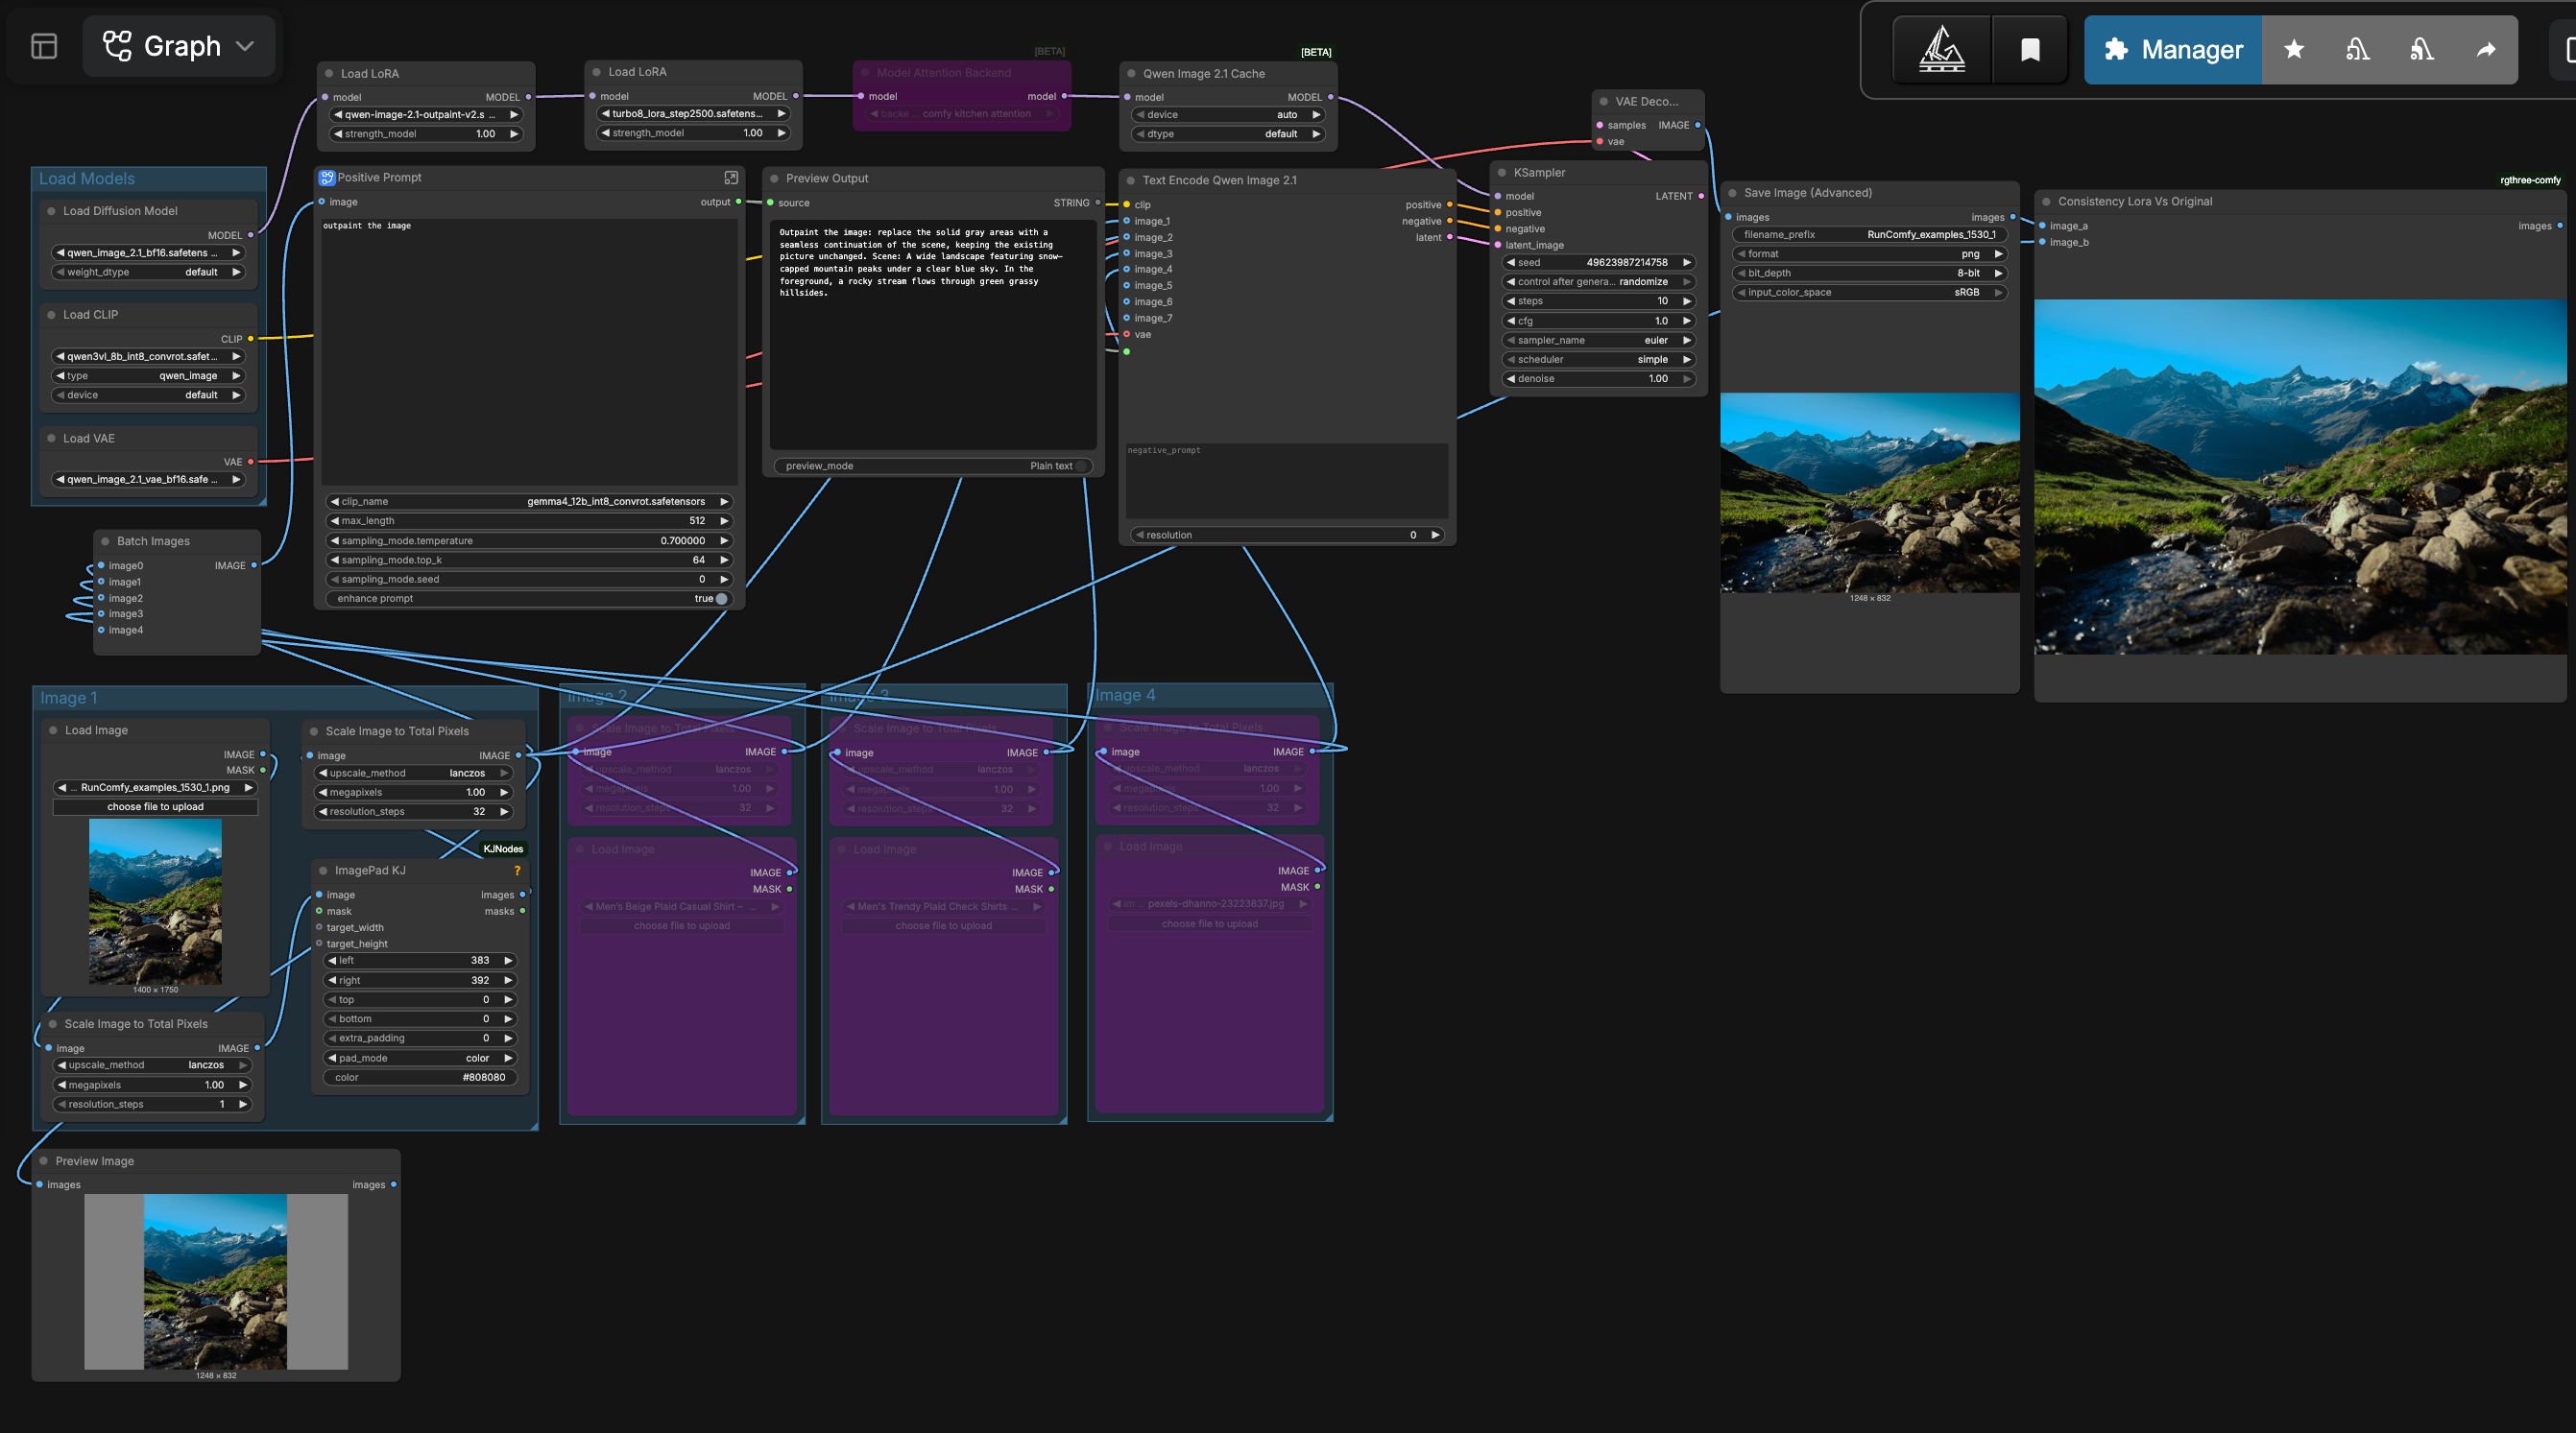
The workflow follows a clear path: prepare the canvas, generate or supply a prompt, condition Qwen Image 2.1 with your image and text, then sample and decode. Groups run in sequence, with optional reference images feeding the text encoder and prompt enhancer.
- Load Models
- This group initializes the Qwen Image 2.1 UNet, its VAE, and the text encoder that powers instruction-following. The Outpaint V2 LoRA is applied on top of the base model so the sampler favors seamless continuations. An attention backend and a small cache are included to make iterative outpainting responsive without additional setup.
- Image 1
- Load your source image here. The graph scales it to a sensible working resolution, then
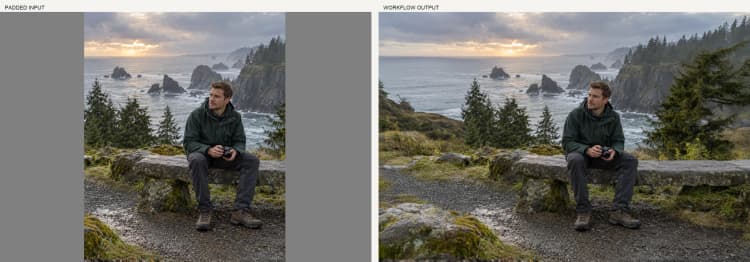
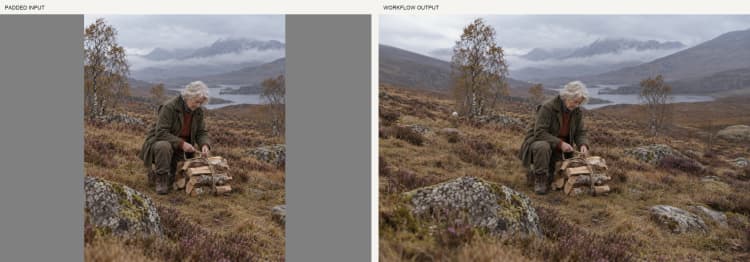
ImagePadKJ(#60) adds gray padding to the sides you want to extend. The gray bands act as the outpaint mask, telling the model exactly where to generate new content while leaving the original pixels untouched. After padding, the image is rescaled and previewed so you can confirm the expansion area before rendering.
- Load your source image here. The graph scales it to a sensible working resolution, then
- Image 2, Image 3, Image 4 (optional)
- These slots accept optional reference images. If you plan to reference them in your prompt as <image2>, <image3>, or <image4>, load and auto-scale them here. They pass to the text encoder and can inform attributes like style, materials, or lighting when explicitly invoked. If you only need pure outpainting from the original, you can ignore these groups.
- Positive Prompt (subgraph)
- A prompt enhancer can generate a concise, image-grounded instruction that always begins with the LoRA’s required trigger: “Outpaint the image: replace the solid gray areas with a seamless continuation of the scene, keeping the existing picture unchanged.” It may append a short Scene: caption that describes only what is visible in the source image, not the gray areas. Toggle the enhancer on to auto-caption from the loaded image, or turn it off and paste your own text while keeping the required trigger first.
- Qwen conditioning and sampling
TextEncodeQwenImage21(#5) binds your instruction to the padded image (and any references), producing conditioning for Qwen Image 2.1. The samplerKSampler(#47) then synthesizes new content strictly within the gray regions, guided by the LoRA for continuity and edge cleanliness. Keep your instruction minimal; the mask controls where to paint, and Qwen Image 2.1 Outpainting handles the visual continuation.
- Output and review
- The decoded image is saved via
SaveImageAdvanced(#12). Use the built-in slider compareImage Comparer (rgthree)(#20) to verify seams and content preservation against the padded input. If you want more breathing room, adjust the canvas and run again; iterative expansions work well with this setup.
- The decoded image is saved via
Key nodes in Comfyui Qwen Image 2.1 Outpainting workflow#
ImagePadKJ(#60)- Defines the outpaint region by padding your image with a neutral gray canvas. Increase the padding on the sides you want to extend; keep areas you do not want changed free of gray. For natural results, avoid covering your subject with padding and favor balanced expansions over extreme single-pass growth.
LoraLoaderModelOnly(#3)- Loads the Outpaint V2 LoRA on top of Qwen Image 2.1. LoRA strength determines how strongly the model prioritizes seam continuity. If you notice style drift or over-commitment to textures, reduce the strength slightly; for more decisive fills on complex edges, raise it.
TextEncodeQwenImage21(#5)- Encodes the instruction and passes in up to four images for multimodal prompting. Always start your text with the trigger sentence, then optionally add a brief “Scene:” caption that describes the visible source image. Use <image2>/<image3>/<image4> only when you intend to copy attributes from those references.
KSampler(#47)- Drives the outpainting within the masked regions. For subtle, conservative extensions, keep denoising and the number of steps modest; for bolder, more imaginative continuations, increase them. If edges look too sharp or too soft compared to the original, adjust guidance and steps together for a better match.
Optional extras#
- Expand in two or more passes for very wide or tall canvases; Qwen Image 2.1 Outpainting stays more faithful with gradual growth.
- Keep the gray padding uniform and neutral; colored pads can bias tones in the new areas.
- Add a short “Scene:” caption if the model needs context (e.g., indoor vs outdoor, season, material), but avoid over-describing the outpaint area.
- Use the compare slider after each pass to verify seams; if a boundary stands out, slightly reduce LoRA strength or denoising and re-run only that side.
Acknowledgements#
This workflow implements and builds upon the following works and resources. We gratefully acknowledge the author(s) of the Workflow tutorial for the instructional workflow, ausboss for Qwen-Image-2.1-Outpaint-LoRA, and Qwen for the Qwen-Image-2.1 model for their contributions and maintenance. For authoritative details, please refer to the original documentation and repositories linked below.
Resources#
- YouTube/Workflow tutorial
- Docs / Release Notes: Workflow tutorial
- ausboss/Qwen-Image-2.1-Outpaint-LoRA
- Hugging Face: ausboss/Qwen-Image-2.1-Outpaint-LoRA
- Qwen/Qwen-Image-2.1
- Hugging Face: Qwen/Qwen-Image-2.1
Note: Use of the referenced models, datasets, and code is subject to the respective licenses and terms provided by their authors and maintainers.