

Flux 3 Klein Distilled Text to Image for ComfyUI#
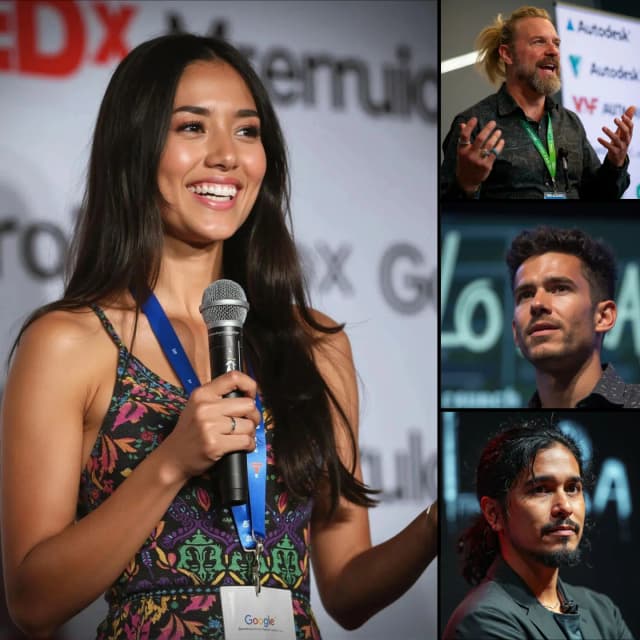
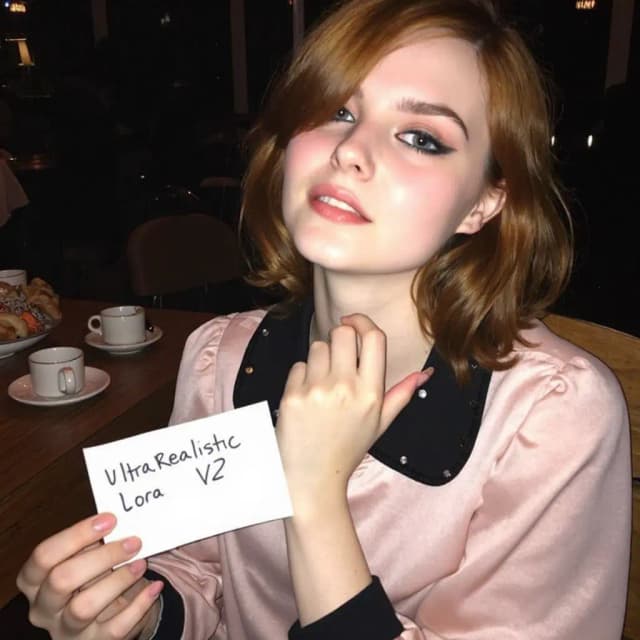
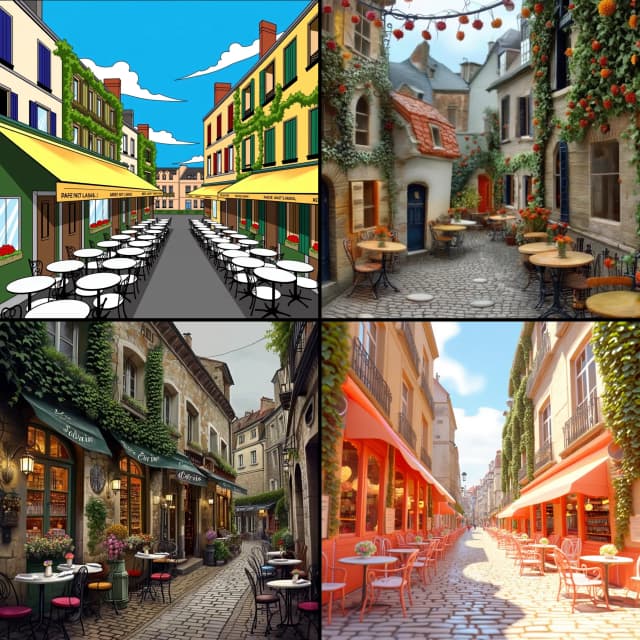
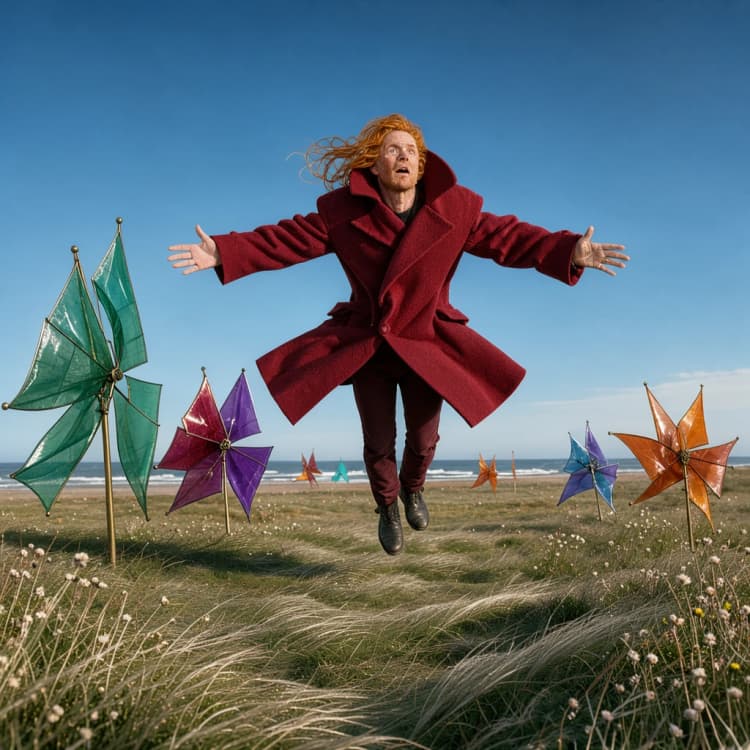
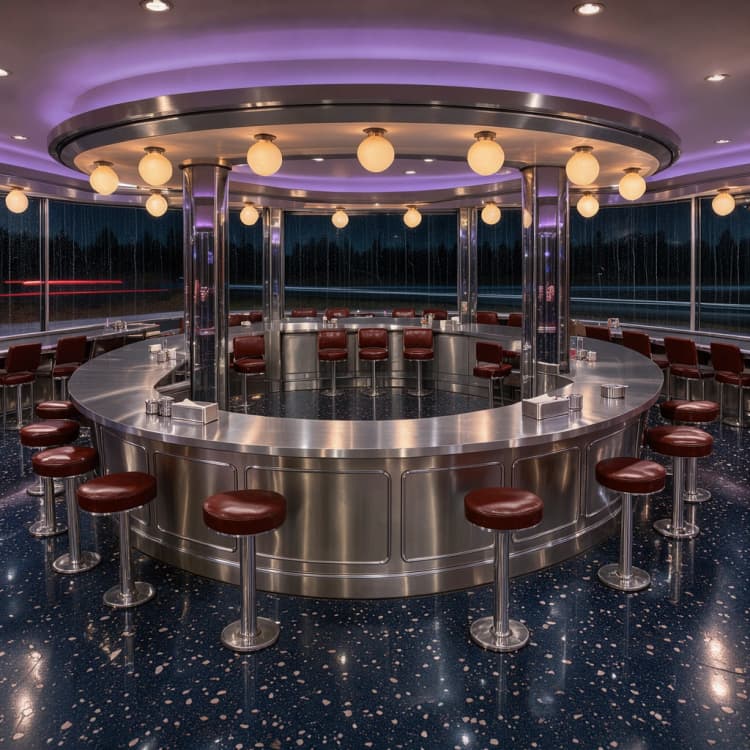
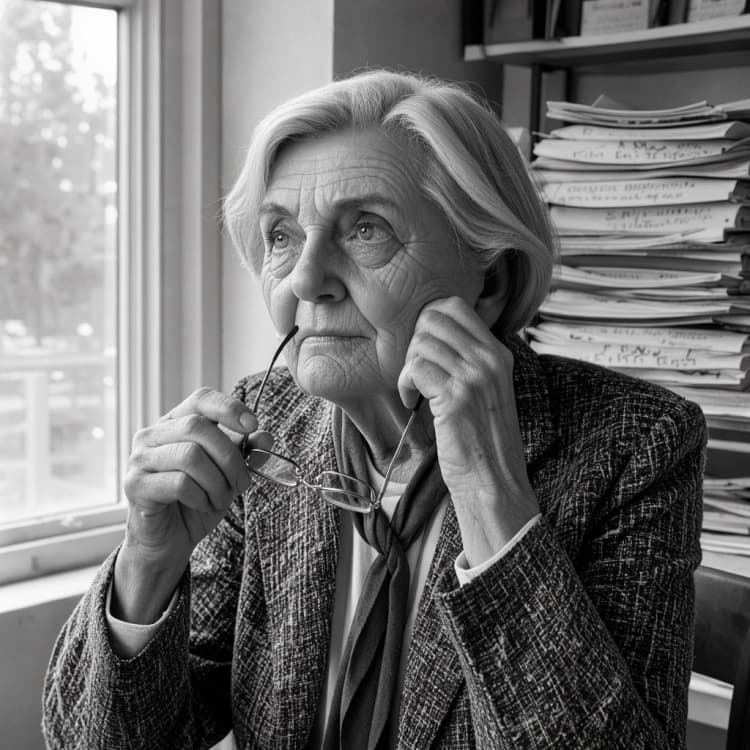
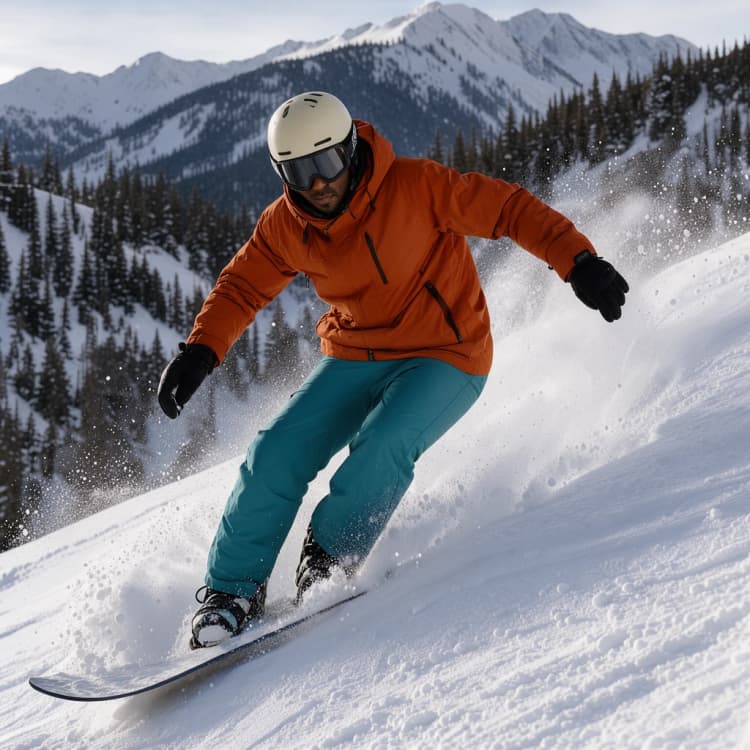
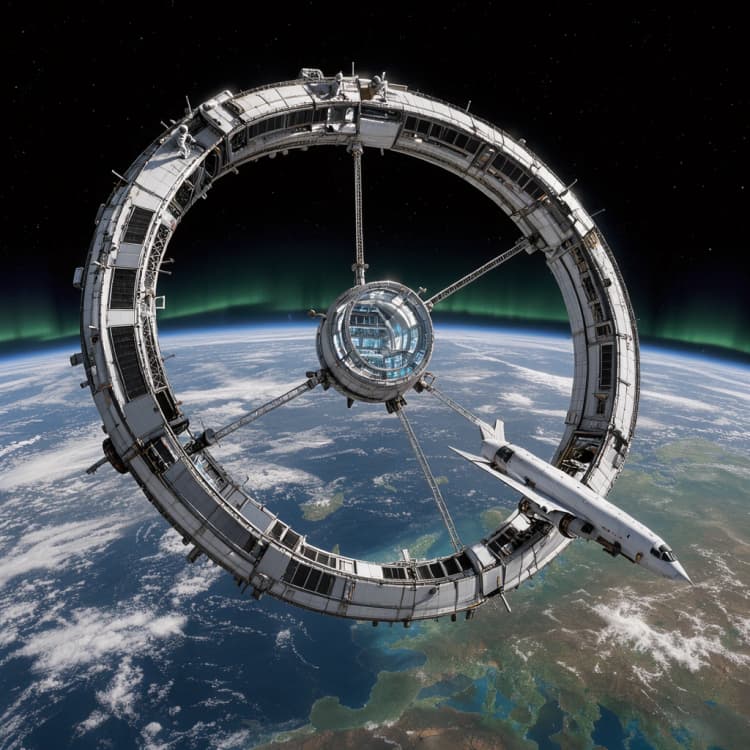
Flux 3 Klein Distilled Text to Image is a compact, production-ready ComfyUI workflow that turns natural-language prompts into polished portraits, cinematic environments, editorial imagery, architecture, and science‑fiction scenes. Built around the official step‑distilled INT8 FLUX.3 Klein release, it emphasizes fast iteration without giving up control over resolution, seed, sampling, and guidance.
This Flux 3 Klein Distilled Text to Image workflow includes an optional Qwen 3.5 prompt upsampler that can expand short requests into detailed, single‑caption prompts for richer compositions. With a practical default step count and clean graph layout, it suits concept art, campaign visuals, story development, and any creative draft that benefits from quick, repeatable exploration.
Key models in Comfyui Flux 3 Klein Distilled Text to Image workflow#
- FLUX.3 Image Klein (step‑distilled, INT8). Core diffusion model that generates images from text conditioning, optimized for fewer sampling steps and quick feedback. Model card • Project
- Flux.2 VAE. Decoder that turns latent samples back into full‑resolution RGB images while preserving fine detail and color fidelity. VAE file
- Qwen3‑VL 4B INT8 text encoder for FLUX.3. Packs prompts into the embeddings used to steer the FLUX.3 UNet; shipped with the official Comfy release for compatibility. Encoder file
- Qwen 3.5 9B Prompt Upsampler INT8 (optional). Expands concise prompts into one detailed caption that the text encoder consumes, improving layout and specificity when desired. Upsampler file
How to use Comfyui Flux 3 Klein Distilled Text to Image workflow#
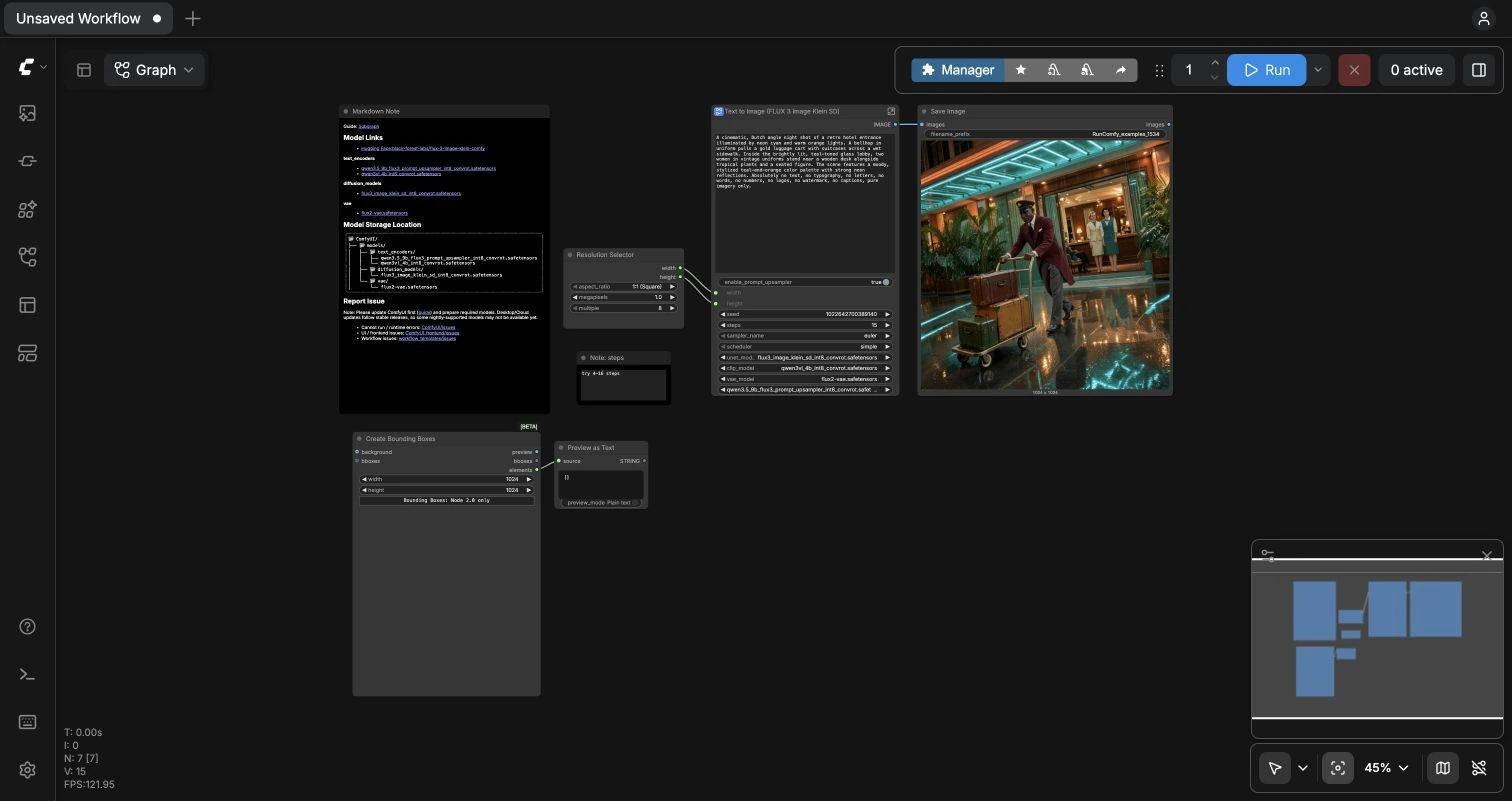
At a glance, prompts flow into an optional prompt‑enhancement stage, are encoded by the paired text encoder, and condition the FLUX.3 sampler operating on an empty latent canvas. The VAE decodes the result to an image that is saved with your chosen prefix. Each group below corresponds to the main blocks you will see in the graph.
Models#
Choose the packaged FLUX.3 Klein UNet, text encoder, and Flux.2 VAE inside the Text to Image (FLUX 3 Image Klein SD) subgraph (#18). The UNETLoader (#1) provides the step‑distilled INT8 model that drives generation. CLIPLoader (#2) loads the Qwen3‑VL 4B text encoder aligned to FLUX.3, and VAELoader (#3) supplies the decoder that reconstructs pixels from latents. These selections are set up to work together out of the box so you can begin exploring immediately.
Prompt#
Write your request as natural language; the CLIPTextEncode “Positive Prompt” (#4) turns it into conditioning for the model. You can leave the “Negative Prompt (empty = reference default)” (#5) blank or add exclusions like text overlays, logos, or unwanted artifacts when needed. Descriptions that include physical details, lighting, camera hints, and spatial anchors typically yield stronger results with Flux 3 Klein Distilled Text to Image. The preview node attached to this block helps you sanity‑check what is being encoded.
Prompt Enhancer#
If you want the workflow to expand your short request into one precise caption, enable the prompt upsampler. TextGenerate (#11) uses the Qwen 3.5 9B upsampler guided by the built‑in system prompt (#14) to produce a single, concrete caption. The ComfySwitchNode (#16) routes either your original text or the upsampled caption to the encoder, so you can A/B test with a single toggle. Use the enhancer for complex scenes or when you want layout and attribute specificity; switch it off when you need strict phrasing control.
Image Size#
Pick a ratio and target size with the ResolutionSelector (#19), which feeds the canvas into EmptyFlux2LatentImage (#6). The latent canvas defines both composition and compute cost; smaller dimensions are great for ideation, while larger frames help with print‑or‑delivery quality. For wide landscapes or tall portraits, select the matching aspect ratio so subjects are composed naturally. You can always upscale later if your pipeline includes a separate upscaler.
Sampling and decode#
KSampler (#7) is the engine that turns conditioning into an image, controlled by your seed, steps, sampler_name, and scheduler. Higher steps usually add detail and stability but cost more time, while alternative samplers can subtly change edges, micro‑texture, and motion blur. The VAEDecode (#8) converts the latent to RGB, and SaveImage (#9) writes the output with your chosen filename prefix so runs are easy to track. Reseed or vary the sampler to explore multiple compositions from the same prompt in this Flux 3 Klein Distilled Text to Image template.
Key nodes in Comfyui Flux 3 Klein Distilled Text to Image workflow#
TextGenerate (#11)#
Generates a single, detailed caption from a short prompt when the enhancer is enabled. Adjust the sampling_mode and its sub‑controls only if you understand how temperature and penalties affect token variety; most users can leave these as provided. Pair it with the ComfySwitchNode to compare original vs. upsampled prompts without changing anything else.
ComfySwitchNode (#16)#
Toggles between the user prompt and the upsampled caption. This lets you hold seeds and settings constant while testing the impact of the enhancer. Keep it on for complex scenes and off when exact wording matters or when you already provide a long, specific description.
KSampler (#7)#
Controls the core trade‑off between speed and quality via steps, plus the character of results via sampler_name and scheduler. Lock a seed to reproduce a favorite image, or randomize to explore diversity. If images feel oversharpened or too soft, try a different sampler before changing the prompt.
CLIPTextEncode “Positive Prompt” (#4)#
Encodes the final caption into conditioning for FLUX.3. Strong physical cues such as lighting direction, time of day, materials, and frame positions often improve faithfulness. Pair with the negative prompt node when you need to exclude text, watermarks, or specific artifacts.
EmptyFlux2LatentImage (#6)#
Creates the latent canvas that determines aspect ratio and pixel area. Larger canvases can reveal more fine detail but increase VRAM and render time. Start small to iterate quickly, then raise size once your composition and subject look right.
Optional extras#
- Use clear, bounded language. Short, concrete clauses with observable details tend to map well in Flux 3 Klein Distilled Text to Image.
- For quick studies, try low step counts; for finals, raise steps modestly and keep the seed fixed.
- If stray text appears, add explicit negatives such as “no text, no typography, no letters” in the negative prompt node.
- The graph includes a lightweight composition aid:
CreateBoundingBoxes(#23) withPreviewAny(#24). It is a scratch pad for planning layouts and does not influence the final render unless you wire it into a downstream tool. - Name your runs in
SaveImage(#9) with a unique prefix so variations from the same prompt are easy to compare later.
Acknowledgements#
This workflow implements and builds upon the following works and resources. We gratefully acknowledge ComfyUI for the Official FLUX.3 Klein ComfyUI tutorial, Black Forest Labs for the Official FLUX.3 Klein ComfyUI model files, and Black Forest Labs for the Official FLUX.3 Klein project for their contributions and maintenance. For authoritative details, please refer to the original documentation and repositories linked below.
Resources#
- ComfyUI/Official FLUX.3 Klein ComfyUI tutorial
- GitHub: black-forest-labs/flux-3-image-klein
- Hugging Face: black-forest-labs/flux-3-image-klein-comfy
- Docs / Release Notes: Tutorial
- Black Forest Labs/Official FLUX.3 Klein ComfyUI model files
- GitHub: black-forest-labs/flux-3-image-klein
- Hugging Face: black-forest-labs/flux-3-image-klein-comfy
- Black Forest Labs/Official FLUX.3 Klein project
- GitHub: black-forest-labs/flux-3-image-klein
- Hugging Face: black-forest-labs/flux-3-image-klein-comfy
Note: Use of the referenced models, datasets, and code is subject to the respective licenses and terms provided by their authors and maintainers.