

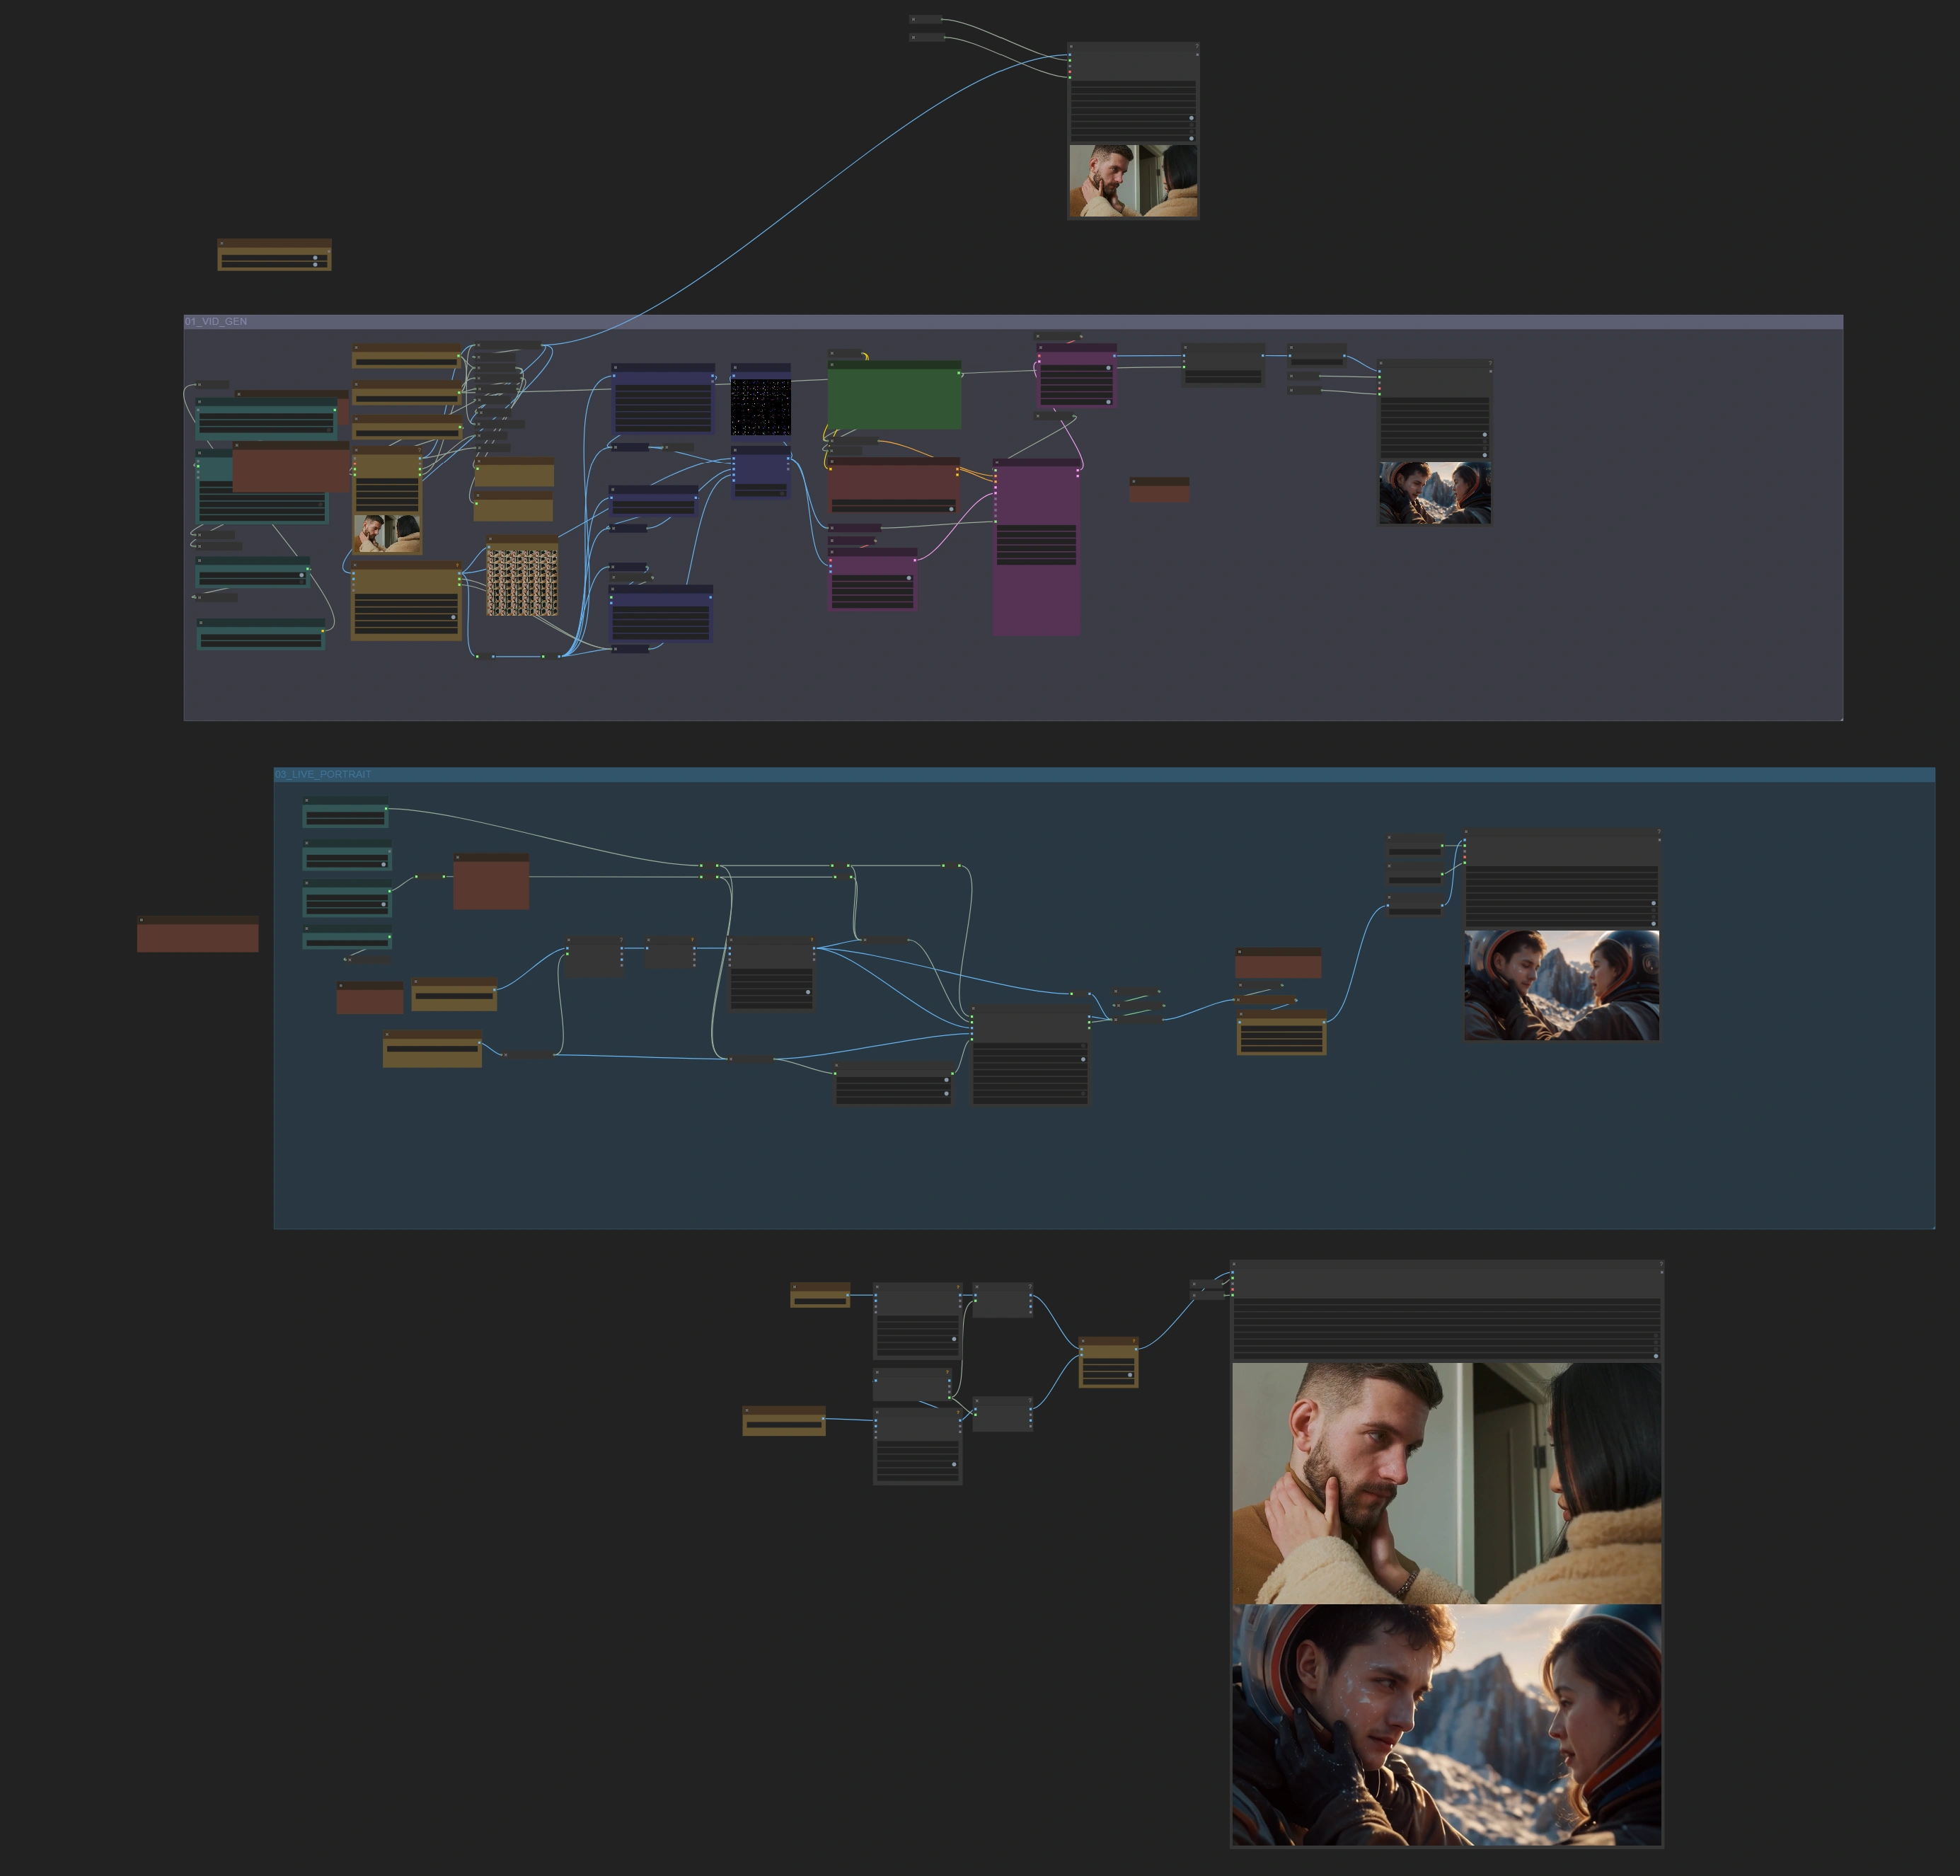
What is the ComfyUI CogVideoX Workflow#
It turns your simple video footage into epic cinematic scenes with the ComfyUI CogVideoX Integration Workflow. This workflow leverages the power of CogVideoX, ControlNet, and Live Portrait to deliver professional-grade visuals without requiring expensive equipment. Whether you're an independent filmmaker or a creator exploring AI-driven video production, this tool empowers you to push creative boundaries.
Key Features of the CogVideoX Workflow#
- CogVideoX: Generate detailed cinematic scenes with AI-driven precision.
- ControlNet Integration: Add pose, edge, and depth guidance for unparalleled control over the transformation process.
- Live Portrait: Refine acting performances and maintain facial detail consistency.
- Comparison Output: Analyze generated results side-by-side with original footage for refinement and sharing.
How to Use the CogVideoX Workflow#
1. Main Components of CogVideoX Workflow#
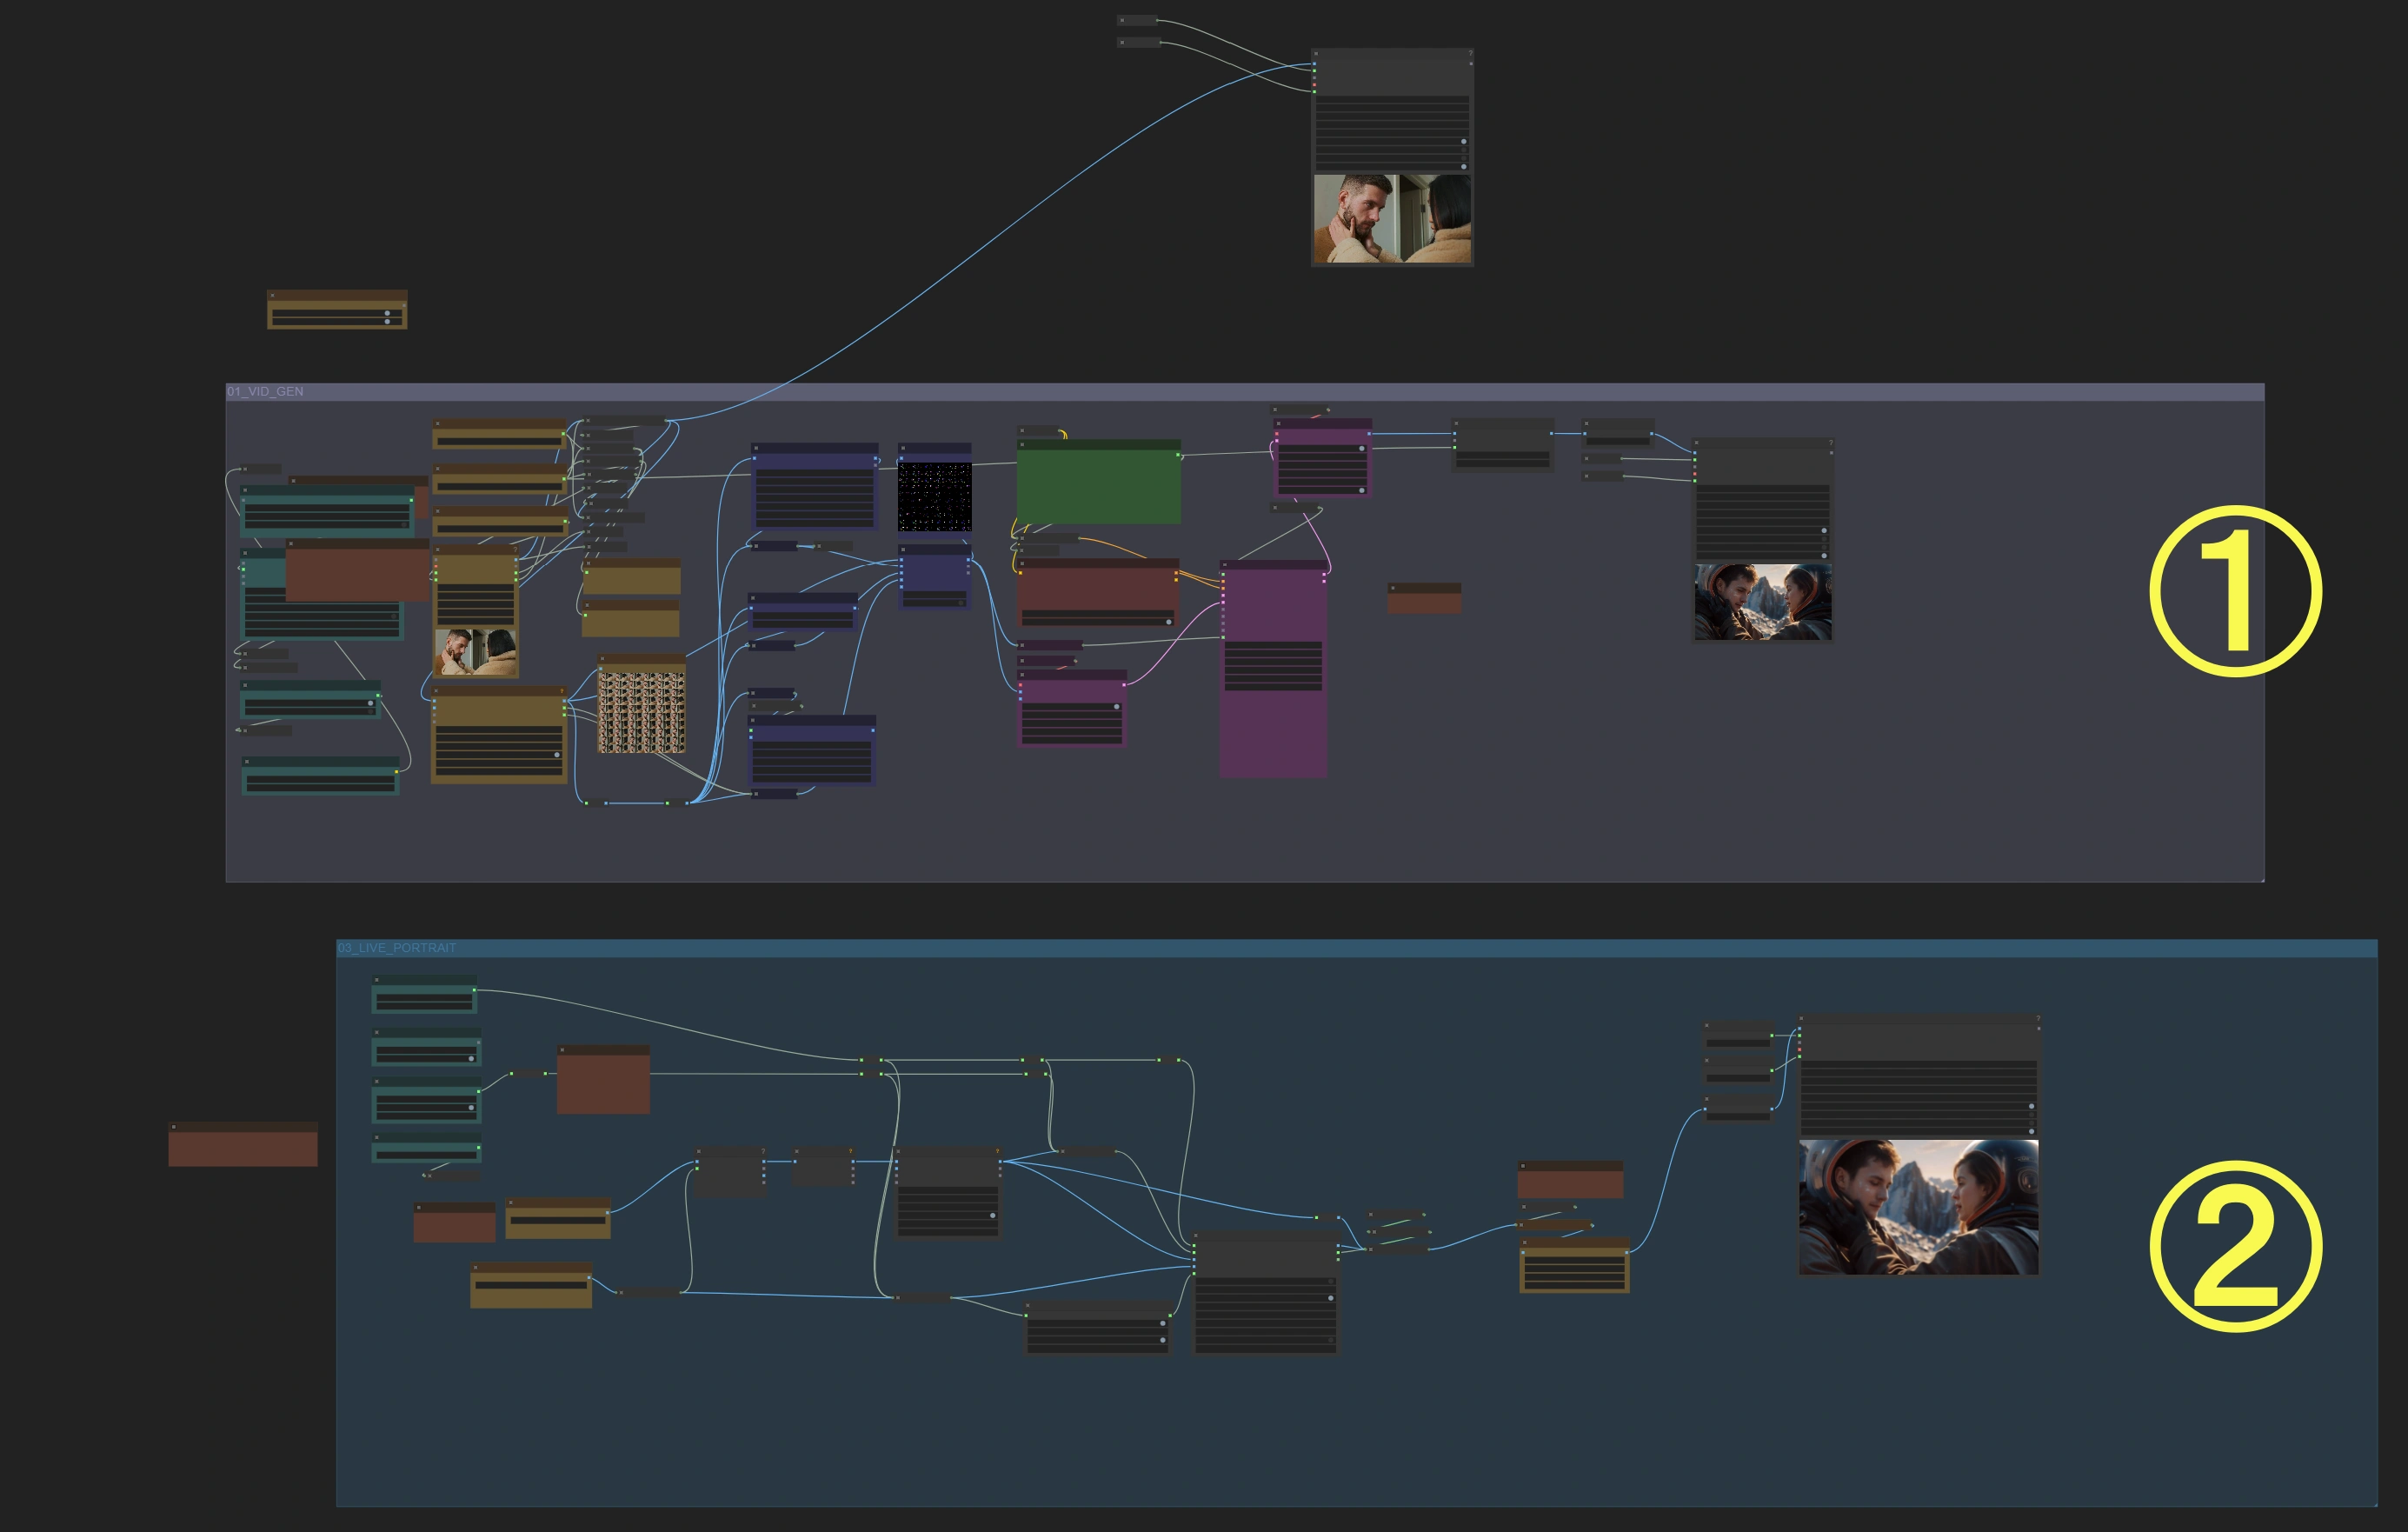
The CogVideoX Workflow features two primary components designed to deliver exceptional cinematic results:
- Video Generation with CogVideoX:
- This stage processes video frames and integrates ControlNet guidance, ensuring precise pose, edge, and depth alignment for professional-grade visuals.
- Live Portrait Integration in CogVideoX:
- Enhances acting performance by refining facial details and maintaining consistency across frames, perfect for scenes requiring detailed expressions.
- Enhances acting performance by refining facial details and maintaining consistency across frames, perfect for scenes requiring detailed expressions.
Tips for Using the CogVideoX Workflow Efficiently#
- Default Recommendation:
- Begin with the Video Generation step to optimize processing time and resources. This is ideal for most cinematic transformations using CogVideoX.
- When to Use Live Portrait:
- Enable this component if the acting details or facial expressions do not transfer accurately during the initial video generation. It ensures the final output maintains a natural and cohesive appearance.
2. Run CogVideoX Workflow#
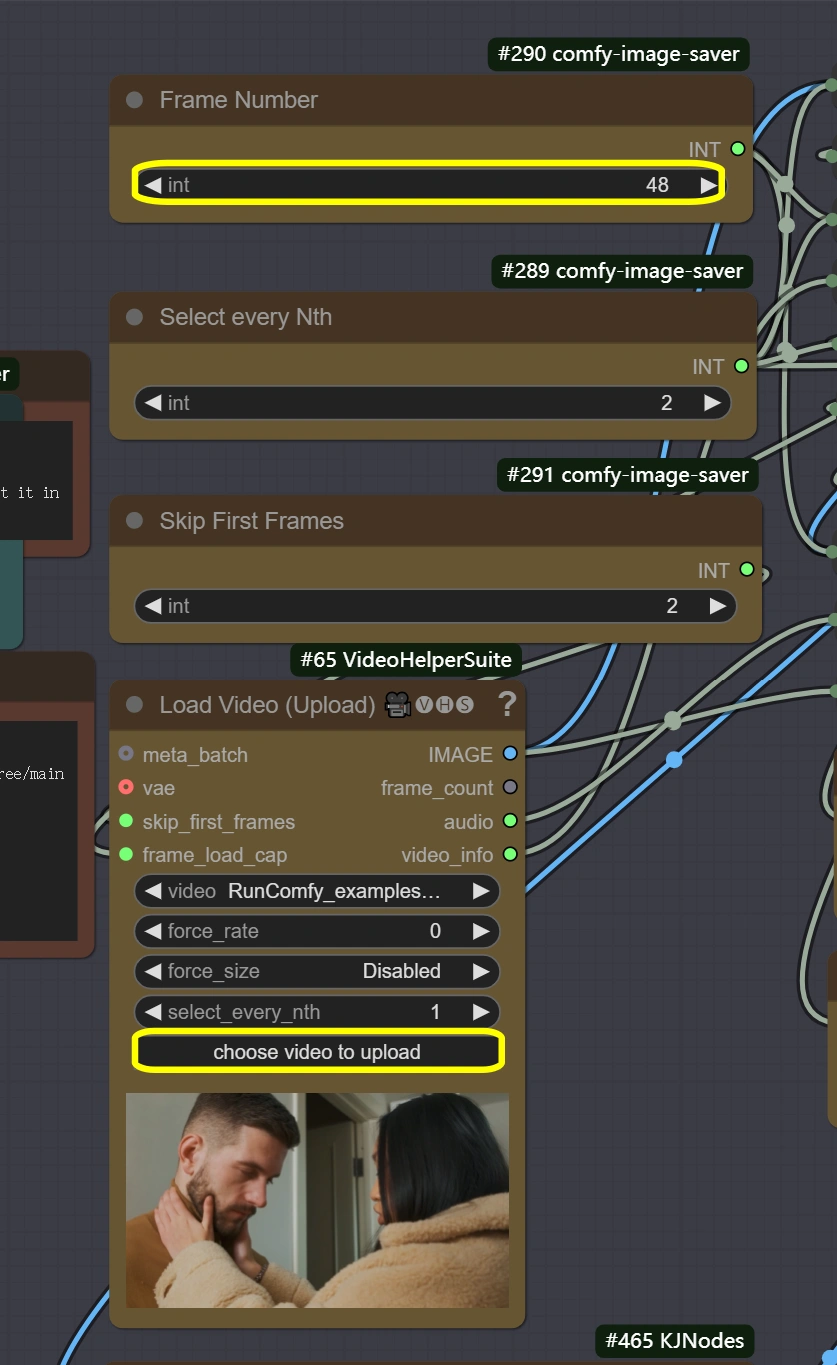
- Load Your Video:
- Use the Load Video node to upload your footage.
- Configure the number of frames for processing:
- Default: 48 frames (trained on CogVideoX).
- Higher frame counts (e.g., 64) are possible with suitable GPU capabilities.
- Adjust Resolution:
- Set video resolution in the Resize Image node.
- Recommended:
Width: 768,Height: 432.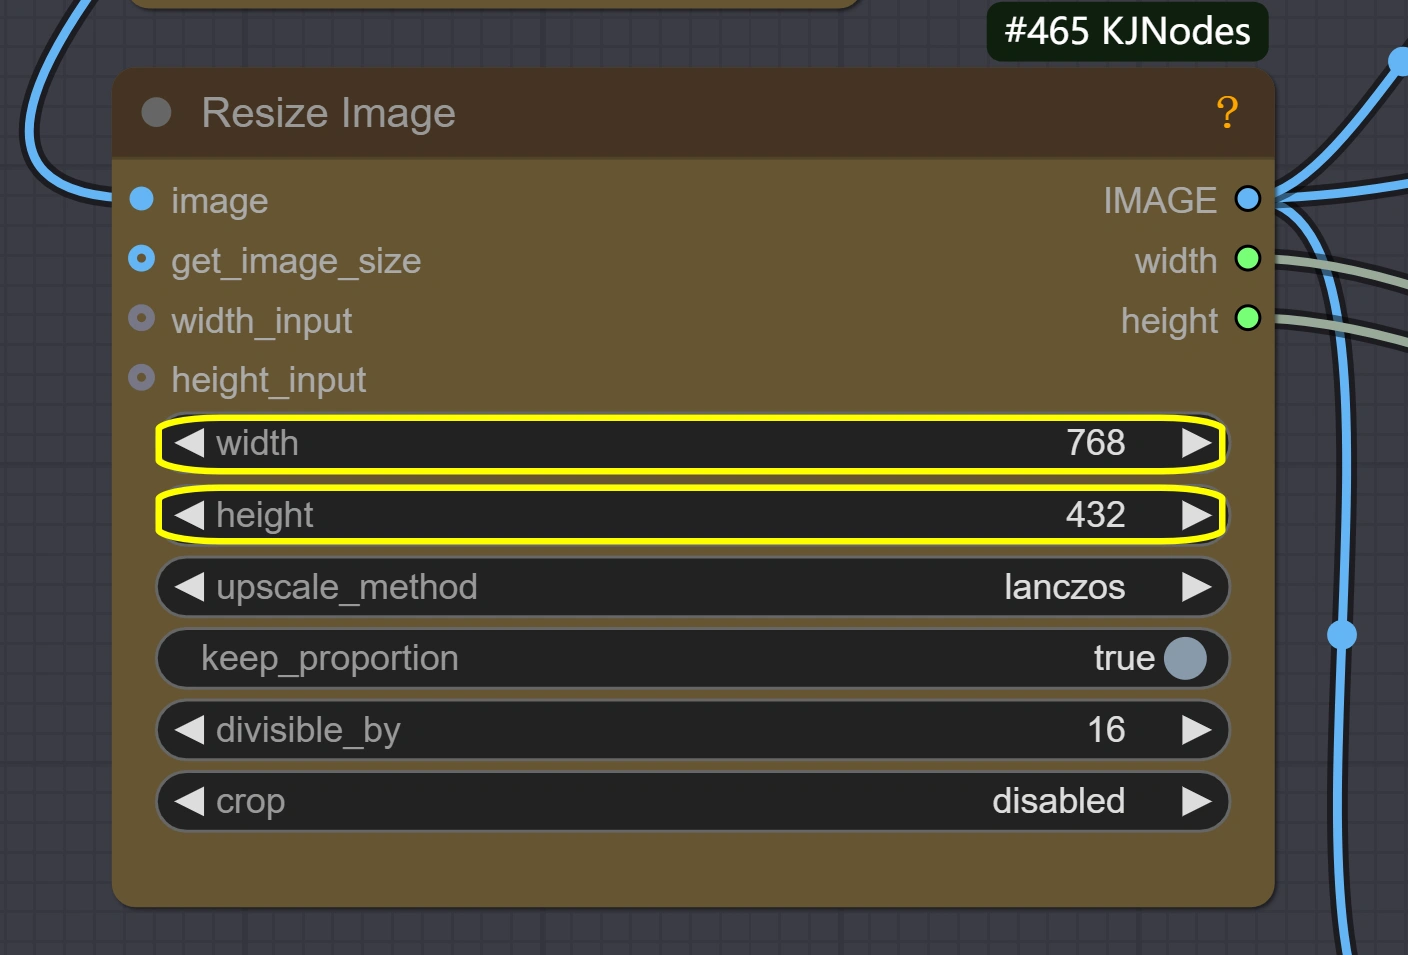
- ControlNet Configuration:
- Select the desired guidance mode using the Switch Node:
- Input1: Original video for image-to-image transformations.
- Input2(Pose): Best for capturing character movement and dynamic poses.
- Input3(Canny): Ideal for maintaining scene structure through edge detection.
- Input4(Depth): Provides spatial consistency, particularly useful for complex backgrounds.
- Adjust the ControlNet strength to balance input fidelity and creative freedom.
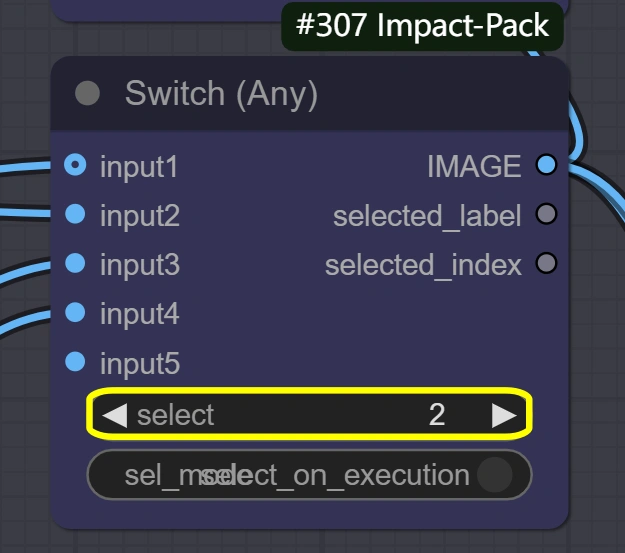
- Select the desired guidance mode using the Switch Node:
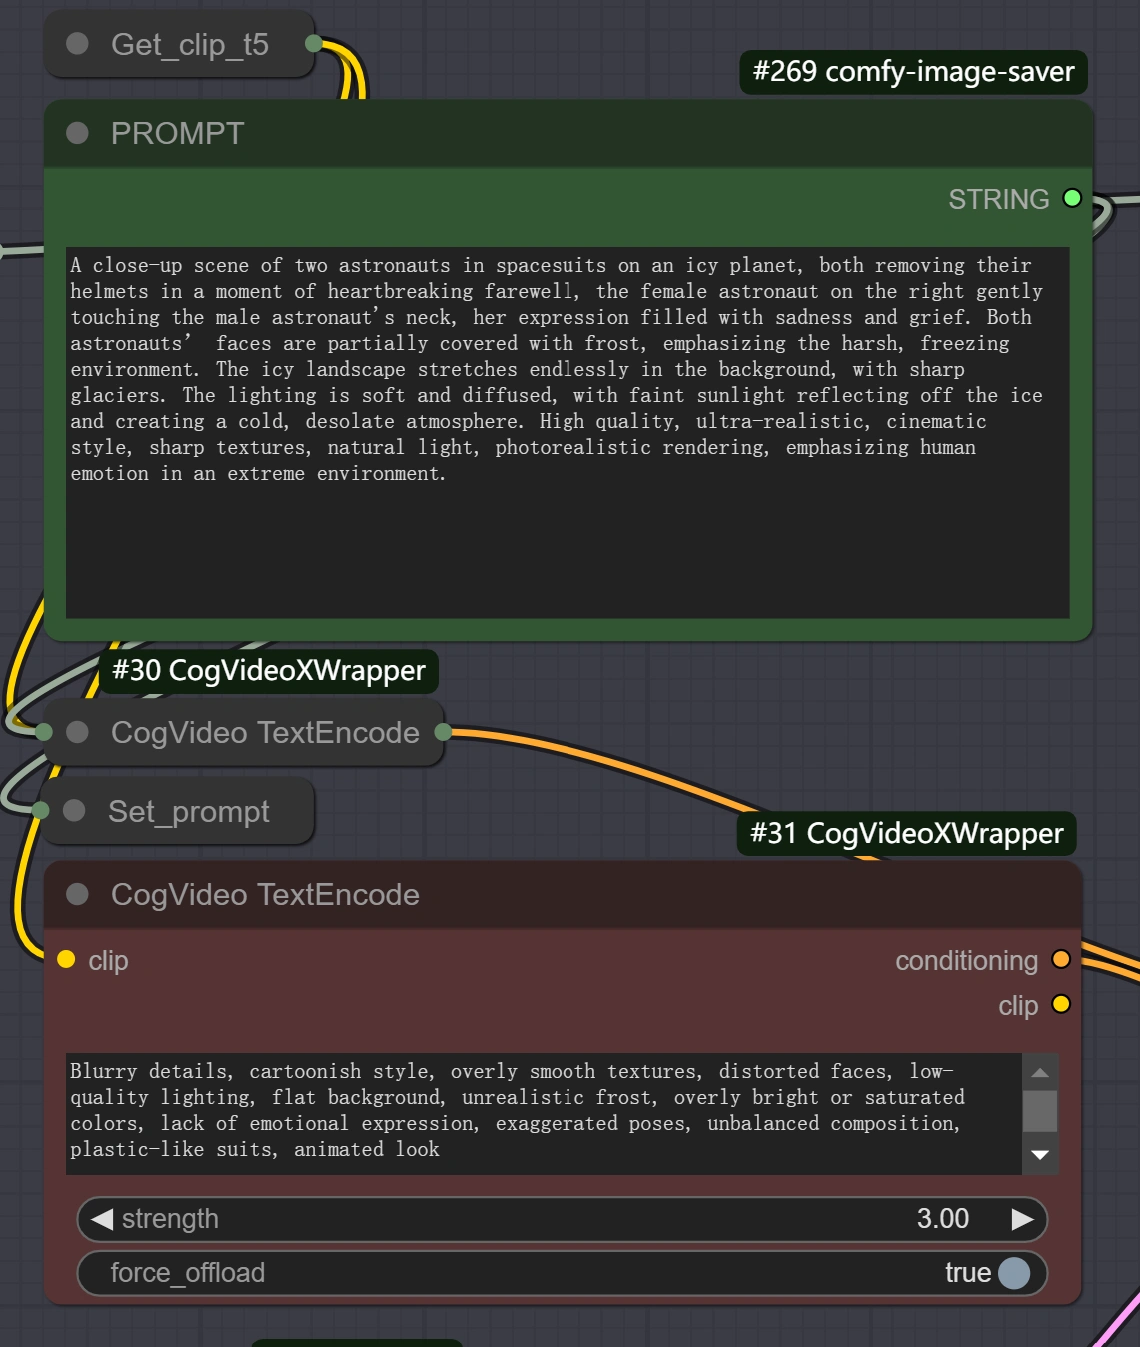
- Write Prompts:
- Use Positive and Negative Prompts to define the scene's aesthetics.
- Example Positive Prompt:
`` A mystical forest with glowing trees, cinematic style, highly detailed. ``
3. Video Processing with the CogVideoX Workflow#
- Run Video Generation:
- Disable Live Portrait initially to save processing time.
- Queue your prompts and begin processing.
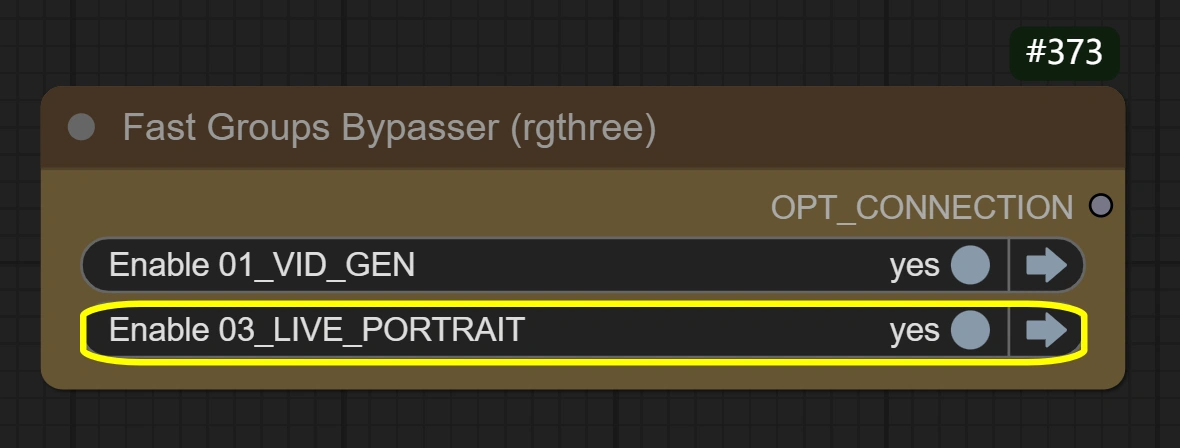
- Enable Live Portrait (Optional):
- Use Live Portrait to refine facial details and acting performance.
- Add specific expressions (e.g., "smiling brightly") to prompts for improved results.
4. Comparing Videos with the CogVideoX Workflow#
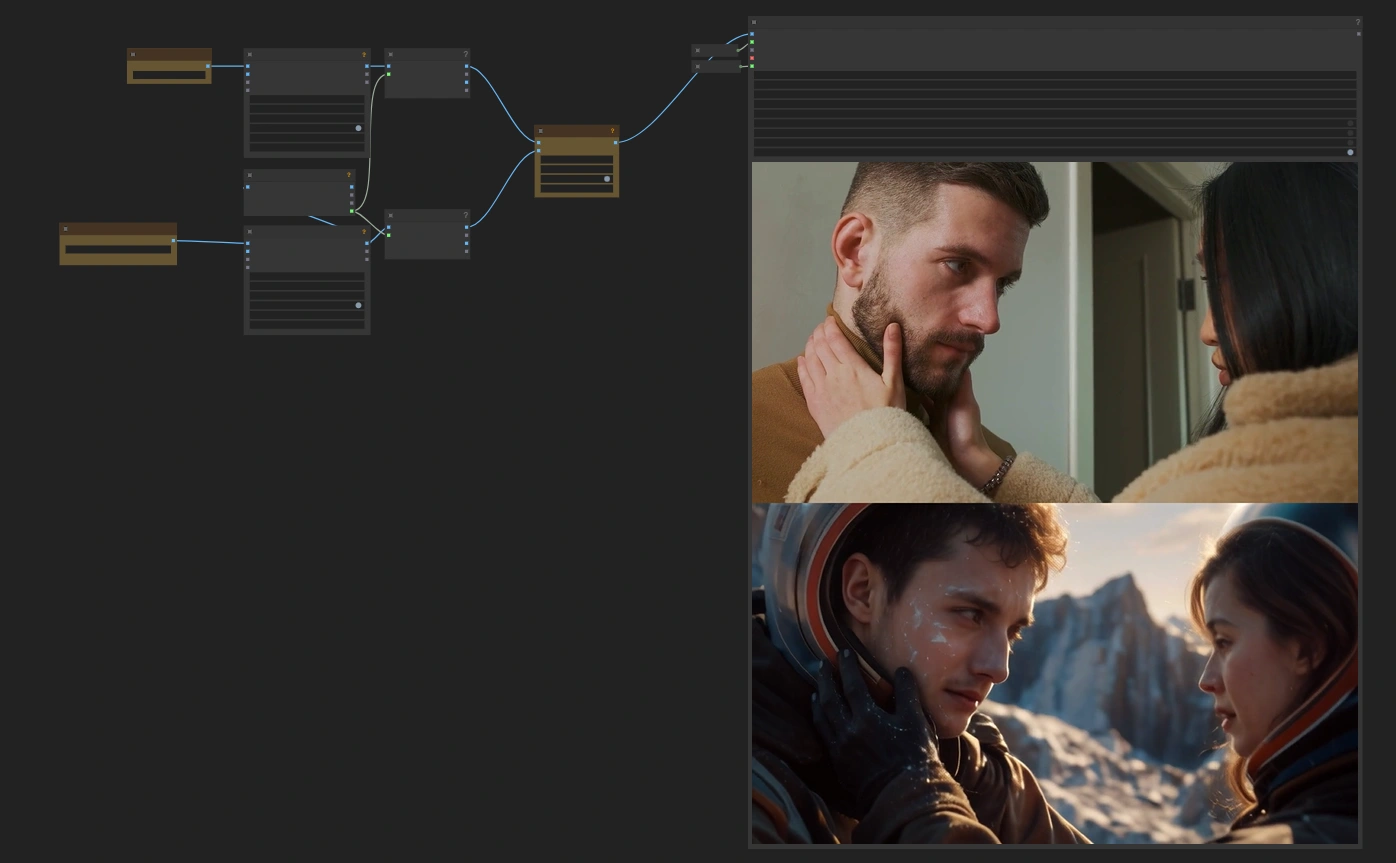
- Enable the built-in Comparison Output to evaluate differences between original and generated videos.
- Use this feature to showcase results or share them on social platforms.
Advanced Tips for the CogVideoX Workflow#
- Frame Optimization:
- Use "Every nth Frame" for longer videos to reduce processing time while interpolating missing frames.
- Creative Prompts:
- Experiment with diverse prompts for unique visual styles.
- ControlNet Fine-Tuning:
- Adjust ControlNet strength for more creative freedom or stricter adherence to the input video. <img src="https://cdn.runcomfy.net/workflow_assets/1179/readme08.webp" alt="CogVideoX" width="350"/> <img src="https://cdn.runcomfy.net/workflow_assets/1179/readme09.webp" alt="CogVideoX" width="350"/>
Example Use Case of the CogVideoX Workflow#
- Load a backyard video of someone walking.
- Apply the following prompt: ``
Transform the backyard into a futuristic cityscape with glowing neon lights, cinematic style.`` - Use ControlNet (Depth) for spatial consistency.
- Process the video and refine acting performance with Live Portrait if needed.
- Use the comparison feature to showcase the transformation.
Credits for the CogVideoX Workflow#
This remarkable workflow was crafted by Mickmumpitz, whose creativity and technical expertise made this possible. Full credit goes to Mickmumpitz! For a comprehensive tutorial, check out his YouTube channel: Mickmumpitz.