ComfyUI Node: 💡 Lens Flare
LensFlareNode
CategoryImage Effects
orion4d (Account age: 929days) Extension
ComfyUI-Image-Effects Latest Updated
2025-05-28 Github Stars
0.02K
How to Install ComfyUI-Image-Effects
Install this extension via the ComfyUI Manager by searching for ComfyUI-Image-Effects- 1. Click the Manager button in the main menu
- 2. Select Custom Nodes Manager button
- 3. Enter ComfyUI-Image-Effects in the search bar
Visit ComfyUI Online for ready-to-use ComfyUI environment
- Free trial available
- 16GB VRAM to 80GB VRAM GPU machines
- 400+ preloaded models/nodes
- Freedom to upload custom models/nodes
- 200+ ready-to-run workflows
- 100% private workspace with up to 200GB storage
- Dedicated Support
💡 Lens Flare Description
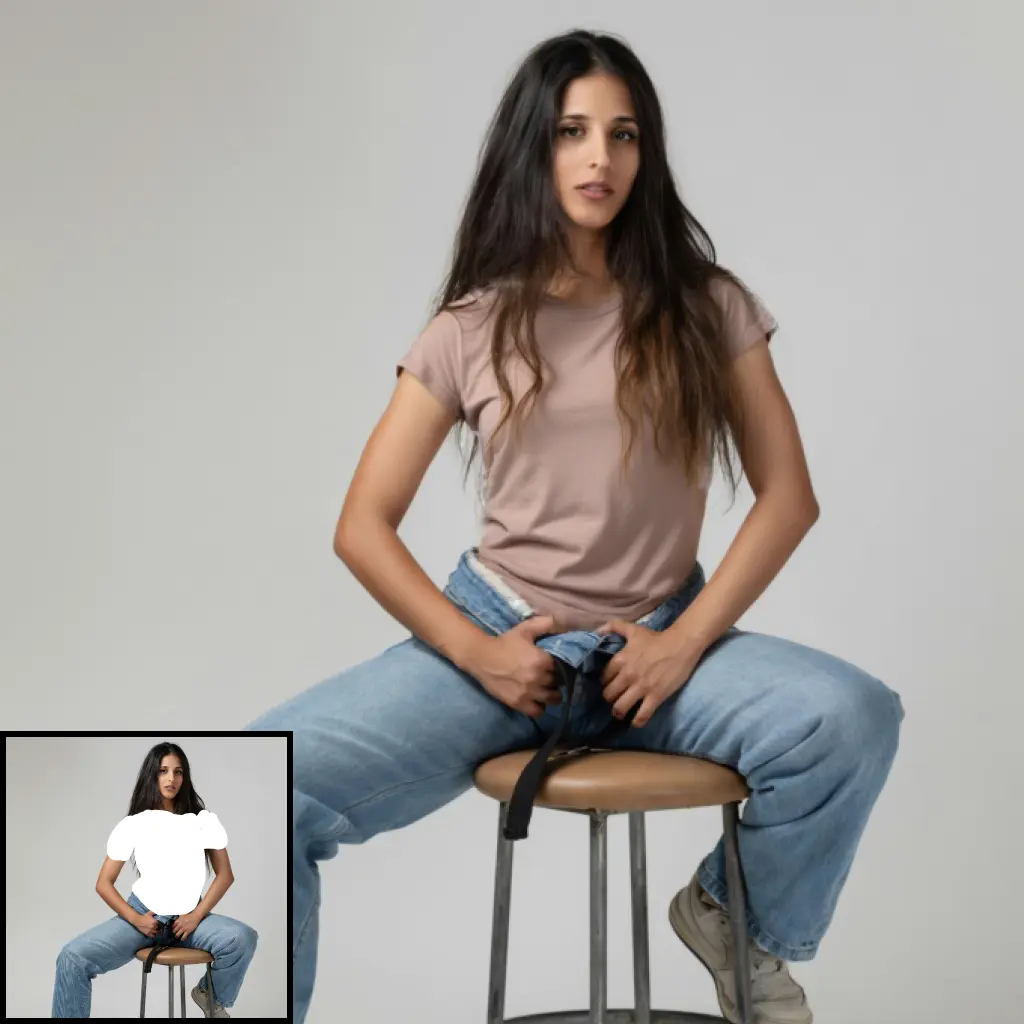
Enhance images with realistic lens flare effects for dramatic lighting and cinematic photography simulations, offering customizable parameters for precise adjustments.
x
💡 Lens Flare:
The LensFlareNode is designed to enhance your images by adding realistic lens flare effects, which are optical phenomena that occur when a bright light source interacts with a camera lens. This node allows you to simulate various types of lens flares, such as classic, anamorphic, starburst, and hexagonal, each offering a unique visual style. By incorporating these effects, you can add depth and dynamism to your images, making them more visually appealing and professional. The node is particularly useful for artists looking to create dramatic lighting effects or to simulate the look of cinematic photography. It provides a range of customizable parameters, enabling you to control the intensity, size, position, and color temperature of the flare, allowing for precise adjustments to match your creative vision.
💡 Lens Flare Input Parameters:
image
This parameter represents the input image to which the lens flare effect will be applied. It is essential as it serves as the base layer for the effect.
flare_type
This parameter determines the style of the lens flare effect. Options include "classic", "anamorphic", "starburst", and "hexagonal", with "classic" as the default. Each type offers a distinct visual appearance, allowing you to choose the one that best fits your artistic needs.
intensity
This parameter controls the brightness of the lens flare effect. It ranges from 0.0 to 2.0, with a default value of 0.5. A higher intensity will make the flare more prominent, while a lower intensity will result in a subtler effect.
size
This parameter adjusts the overall size of the lens flare effect. It ranges from 0.1 to 1.0, with a default value of 0.3. Increasing the size will make the flare cover a larger area of the image, while decreasing it will confine the effect to a smaller region.
position_x
This optional parameter sets the horizontal position of the lens flare on the image, ranging from 0.0 to 1.0, with a default value of 0.7. It allows you to place the flare at a specific point along the x-axis.
position_y
This optional parameter sets the vertical position of the lens flare on the image, ranging from 0.0 to 1.0, with a default value of 0.3. It allows you to place the flare at a specific point along the y-axis.
color_temp
This optional parameter defines the color temperature of the lens flare, measured in Kelvin. It ranges from 2000.0 to 10000.0, with a default value of 5500.0. Adjusting this parameter can simulate different lighting conditions, from warm to cool tones.
rays
This optional parameter is specific to the "starburst" flare type and determines the number of rays emanating from the flare. It ranges from 4 to 12, with a default value of 6. More rays will create a more complex starburst pattern.
💡 Lens Flare Output Parameters:
IMAGE
The output is an image with the applied lens flare effect. This enhanced image can be used in various creative projects, providing a more dynamic and visually interesting result. The output maintains the original image's dimensions and format, ensuring compatibility with subsequent processing steps.
💡 Lens Flare Usage Tips:
- Experiment with different
flare_typeoptions to find the style that best complements your image. Each type offers a unique aesthetic, so try them all to see which one fits your creative vision. - Use the
intensityandsizeparameters to fine-tune the prominence and coverage of the lens flare. A subtle effect can add realism without overpowering the image, while a more intense flare can create a dramatic focal point.
💡 Lens Flare Common Errors and Solutions:
Image shape mismatch
- Explanation: This error occurs when the input image does not have the expected shape or dimensions.
- Solution: Ensure that the input image is correctly formatted and has the appropriate dimensions for processing.
Invalid flare type
- Explanation: This error arises when an unsupported flare type is specified.
- Solution: Check that the
flare_typeparameter is set to one of the supported options: "classic", "anamorphic", "starburst", or "hexagonal".
Out of range parameter value
- Explanation: This error happens when a parameter value is set outside its allowed range.
- Solution: Verify that all parameter values are within their specified ranges and adjust them accordingly.
💡 Lens Flare Related Nodes
RunComfy is the premier ComfyUI platform, offering ComfyUI online environment and services, along with ComfyUI workflows featuring stunning visuals. RunComfy also provides AI Models, enabling artists to harness the latest AI tools to create incredible art.


