Flux 2 Dev multi-reference generation and editing workflow for ComfyUI#
このワークフローは、高忠実度のテキストから画像生成とマルチリファレンス画像編集のためにFLUX.2 Devの力をComfyUIに提供します。フォトリアリスティックなディテール、一貫したアイデンティティ、強いプロンプトの遵守が必要なクリエイター向けに調整されています。製品ショット、キャラクターレンダリング、広告ビジュアル、コンセプトアートに適しています。標準ブランチまたは軽量のFP8ブランチを実行し、レイアウトと素材の一貫性を保ち、マルチメガピクセルの出力までスケールアップできます。
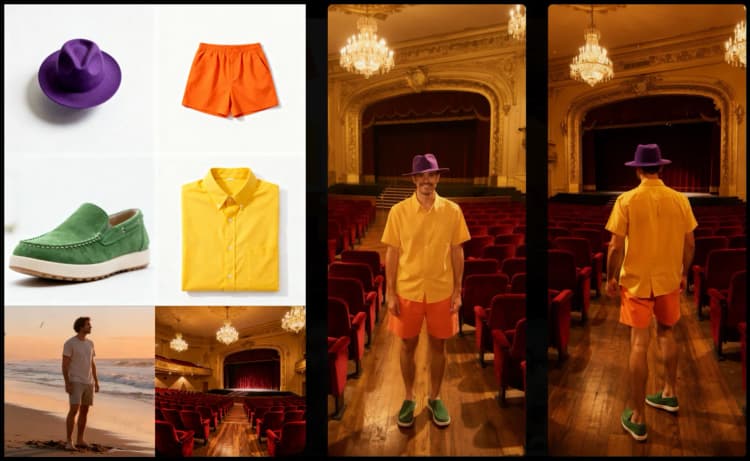
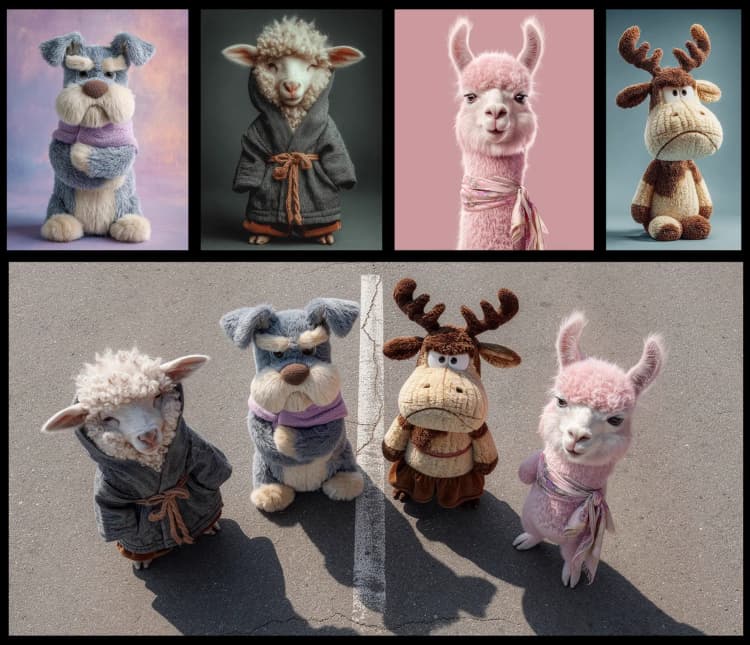
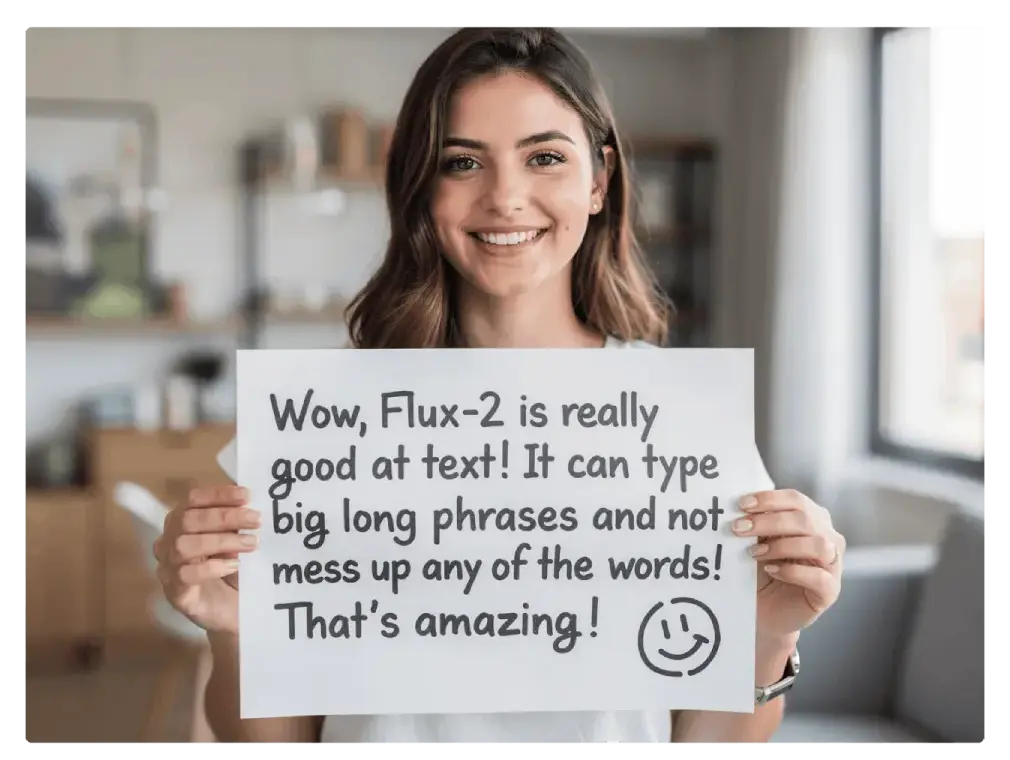
Flux 2 Devは、正確なプロンプトとリファレンス駆動のコントロールを組み合わせることで、バリエーション間でスタイルとデザインの一貫性を保つことができます。グラフには、すぐに使用できるリファレンススロット、柔軟な画像サイズ、品質と速度のバランスを取るカスタムサンプリングパスが含まれています。反復的なアイデア出し、シーンレベルの一貫性、消費者用GPUでの生産グレードの結果に適しています。
Key models in Comfyui Flux 2 Dev workflow#
- FLUX.2 Dev diffusion model. The open-weight visual generation backbone used for both text-to-image and guided edits. Source: black-forest-labs/FLUX.2-dev.
- Mistral 3 Small Flux2 text encoder (bf16 and fp8 builds). Converts your prompt into token embeddings optimized for Flux 2 Dev; the FP8 variant reduces VRAM for the lightweight branch. Example weights: Comfy-Org/flux2-dev/text_encoders.
- FLUX.2 VAE. Compresses and reconstructs images from latent space with high perceptual quality. Weights: Comfy-Org/flux2-dev/vae.
How to use Comfyui Flux 2 Dev workflow#
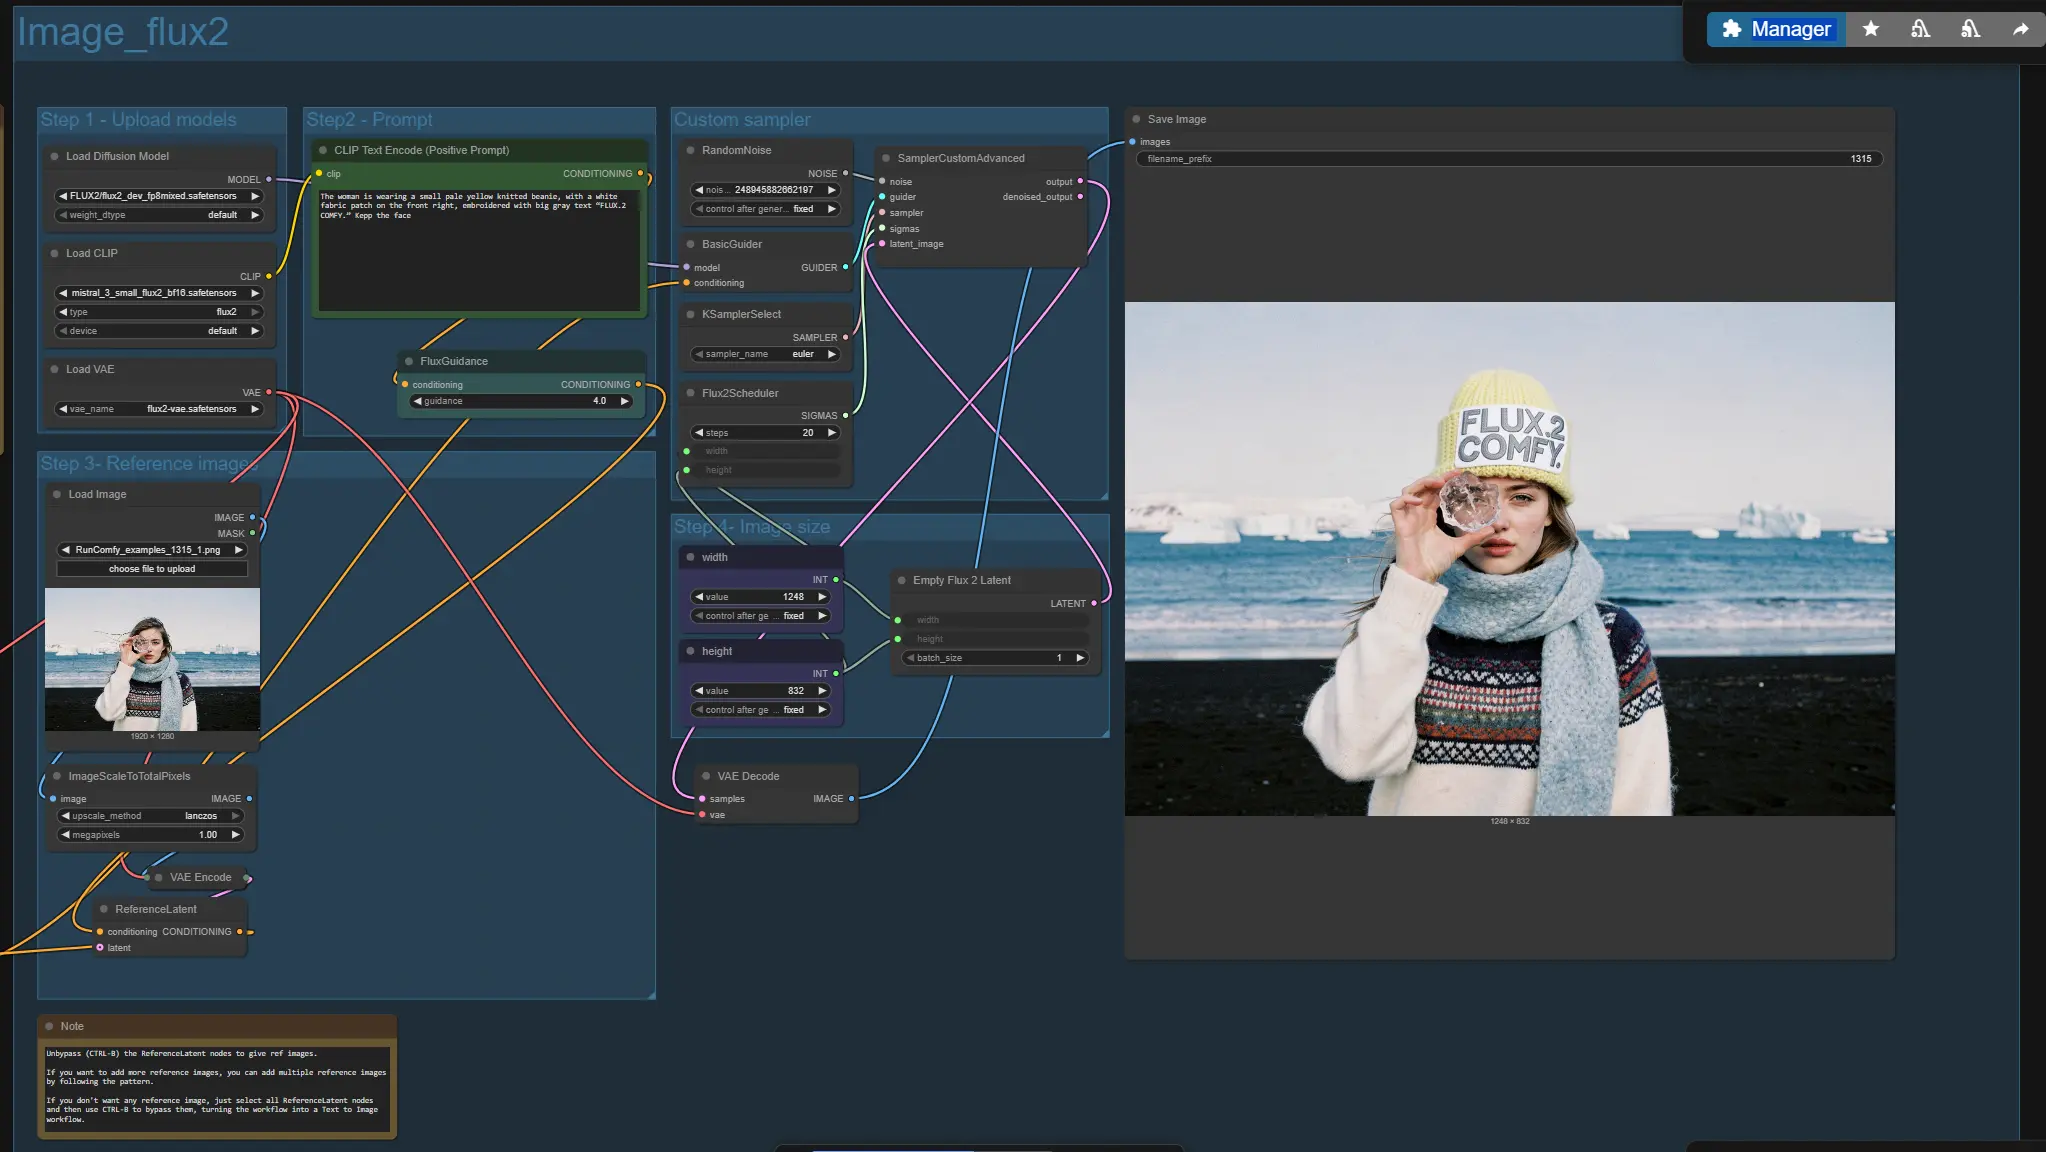
The graph contains two parallel branches. “Image_flux2” is the standard path; “Image_flux2_fp8” is a lighter variant that swaps in an FP8 text encoder to save memory. Use one branch at a time from prompt to save. Both branches share the same overall logic: load models, author a prompt, optionally add one or more reference images, choose image size, sample, and save.
Step 1 - Upload models#
The workflow auto-loads the Flux 2 Dev diffusion model, a Flux 2 Dev-compatible text encoder, and the Flux 2 VAE. In the standard branch these are handled by UNETLoader (#12), CLIPLoader (#38), and VAELoader (#10). In the FP8 branch they are mirrored by UNETLoader (#86), CLIPLoader (#90), and VAELoader (#70). You typically do not need to touch these unless you want to swap weights.
Step 2 - Prompt#
Write your description in CLIP Text Encode (Positive Prompt) (#6) or (#85). Good prompts name the subject, composition, materials, lighting, and desired style (for example, studio key light, soft shadows, glossy plastic, wide aperture). Flux 2 Dev responds well to clear nouns and concise style tags and can preserve layout instructions and typography when stated unambiguously. Keep the prompt simple when you want the reference images to dominate; get more descriptive when you want stronger creative steering.
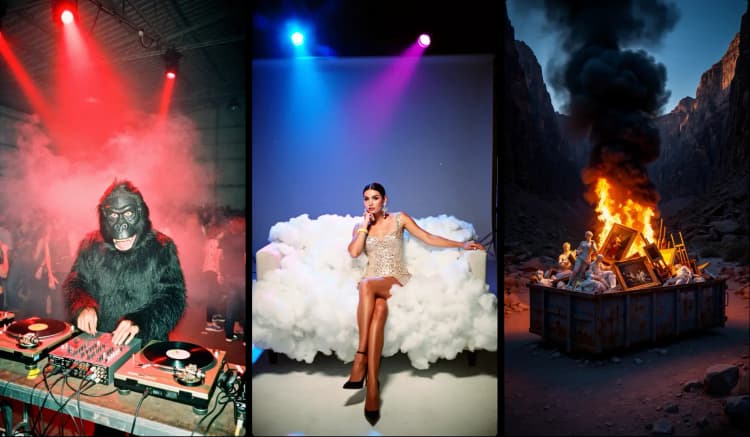
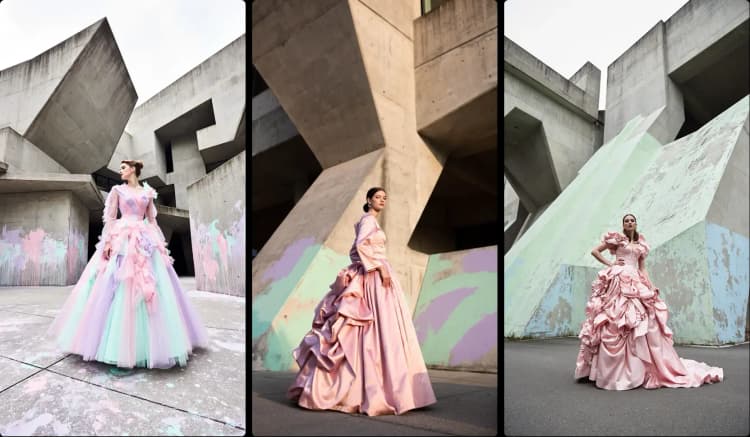
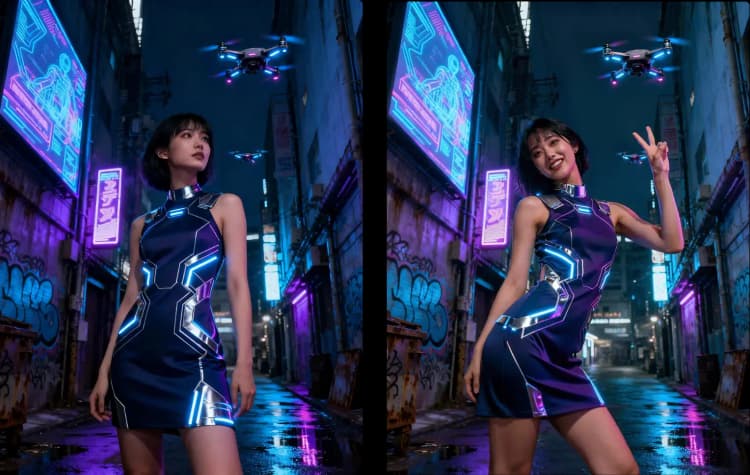
Step 3 - Reference images#
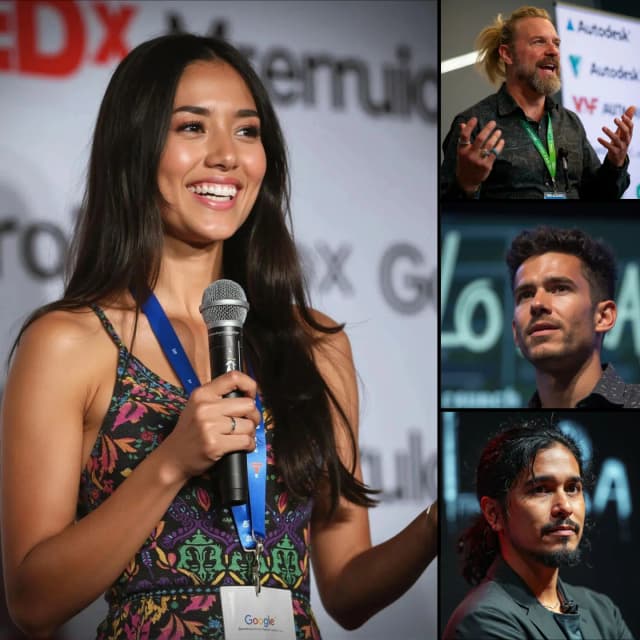
Reference support is built in so you can guide identity, style, or design continuity. Drop images into the LoadImage nodes, which are preprocessed for size, encoded to latents, and fused into the conditioning through chained ReferenceLatent nodes. Use the pattern shown to add more references in the FP8 branch (the layout scales to many references). To disable references entirely, bypass all ReferenceLatent nodes and you get pure text-to-image behavior.
Custom sampler#
Sampling is orchestrated by SamplerCustomAdvanced with a selectable sampler (KSamplerSelect) and the Flux 2 scheduler. A RandomNoise node provides deterministic seeds for reproducibility. The scheduler drives the denoising trajectory while the guider conditions the model with your prompt and reference latents. This path is tuned to deliver crisp details and consistent structure while staying interactive for rapid iteration.
Image size#
Width and height controls feed both the scheduler and the latent canvas so the model denoises at the intended resolution. Flux 2 Dev comfortably targets 1–4 megapixels; start smaller for look development and scale up when you like the framing. Keep aspect ratio aligned to your subject and reference images to preserve composition and identity cues.
Results#
After sampling, latents are decoded by the VAE and written out by SaveImage. Run again with the same seed for continuity across takes, or change the seed for fresh variations while preserving the same prompt and references.
Key nodes in Comfyui Flux 2 Dev workflow#
CLIP Text Encode (Positive Prompt) (#6, #85)#
Encodes your text into embeddings using the Flux 2 Dev-compatible text encoder. Strong nouns and clear material and lighting terms yield the most reliable guidance. If references are heavily used, keep prompts concise so they complement rather than fight the references.
FluxGuidance (#26, #75)#
Applies the Flux-specific conditioning strength that balances prompt influence against model priors and references. Increase guidance for tighter prompt adherence; reduce it when reference images should dominate. Adjust in small steps and re-run a couple of seeds to confirm stability across outputs.
ReferenceLatent (#39, #43, #83, #84)#
Injects encoded reference latents into the conditioning stream to preserve identity, style, or layout cues. Use multiple references by chaining nodes following the existing pattern. Bypass individual nodes to A/B test each reference’s contribution or to switch between text-only and multi-reference modes.
Flux2Scheduler (#48, #67)#
Creates the sigma schedule tailored to Flux 2 Dev and your chosen resolution. More steps generally trade speed for detail and stability. Pair schedule changes with sampler changes sparingly so you can attribute improvements to one variable at a time.
KSamplerSelect (#16, #81)#
Selects the sampler algorithm used by the custom sampler. Euler is a solid default for a wide range of subjects. Switch samplers only when you are chasing a specific look or behavior; keep other settings constant when comparing.
SamplerCustomAdvanced (#13, #80)#
Runs the denoising loop with the sampler, schedule, guider, and latent canvas. Key levers you will revisit here are steps, sampler, and the seed coming from the noise node. When exploring a scene, change only one of these at a time to understand its effect.
EmptyFlux2LatentImage (#47, #79)#
Defines the latent canvas used for denoising at your target width and height. Larger canvases increase detail but also raise VRAM use and time per image. Match canvas aspect ratio to your subject for more natural compositions.
Optional extras#
- Choose the FP8 branch when VRAM is tight, then move to the standard branch for final renders.
- For identity-heavy tasks, keep prompts short and feed clean, well-lit reference images.
- Lock the seed to maintain consistency across variations; change the seed to explore alternatives.
- Start at a smaller resolution to find framing, then scale up to multi‑megapixel outputs for final quality.
- If multiple references conflict, try reordering or temporarily bypassing some to see which one carries the look you want.
- Save successful seeds, prompts, and reference sets as reusable presets for future projects.
Links to official weights and assets:
- FLUX.2 Dev model by Black Forest Labs: black-forest-labs/FLUX.2-dev
- Split weights for ComfyUI (text encoders, VAE, diffusion model): Comfy-Org/flux2-dev
Acknowledgements#
This workflow implements and builds upon the following works and resources. We gratefully acknowledge Comfy Org for FLUX.2 Day-0 Support in ComfyUI: Frontier Visual Intelligence for their contributions and maintenance. For authoritative details, please refer to the original documentation and repositories linked below.
Resources#
- Comfy Org/FLUX.2 Day-0 Support in ComfyUI: Frontier Visual Intelligence
- GitHub: Comfy-Org/workflow_templates
- Hugging Face: black-forest-labs/FLUX.2-dev
- Docs / Release Notes: FLUX.2 Day-0 Support in ComfyUI: Frontier Visual Intelligence
Note: Use of the referenced models, datasets, and code is subject to the respective licenses and terms provided by their authors and maintainers.