


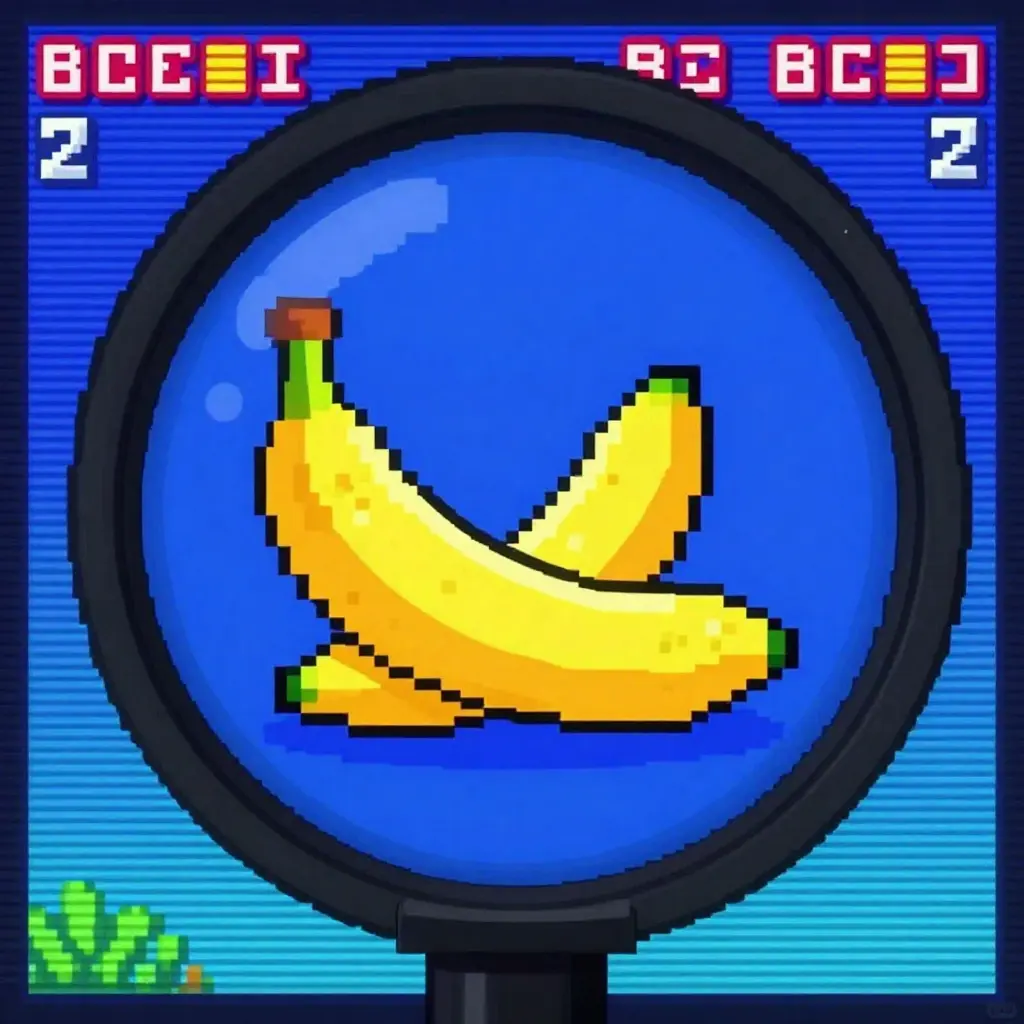
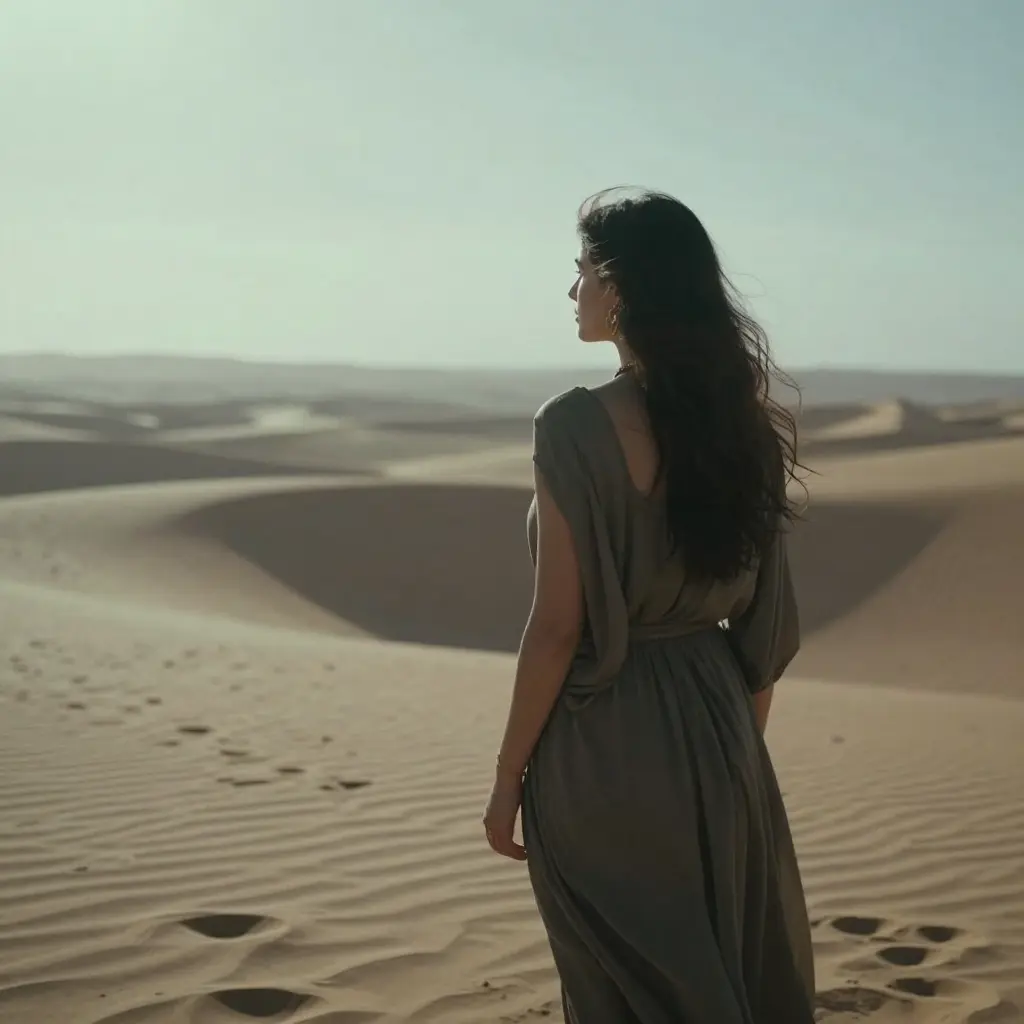
Z Image Turbo for ComfyUI: fast text to image with near real time iteration#
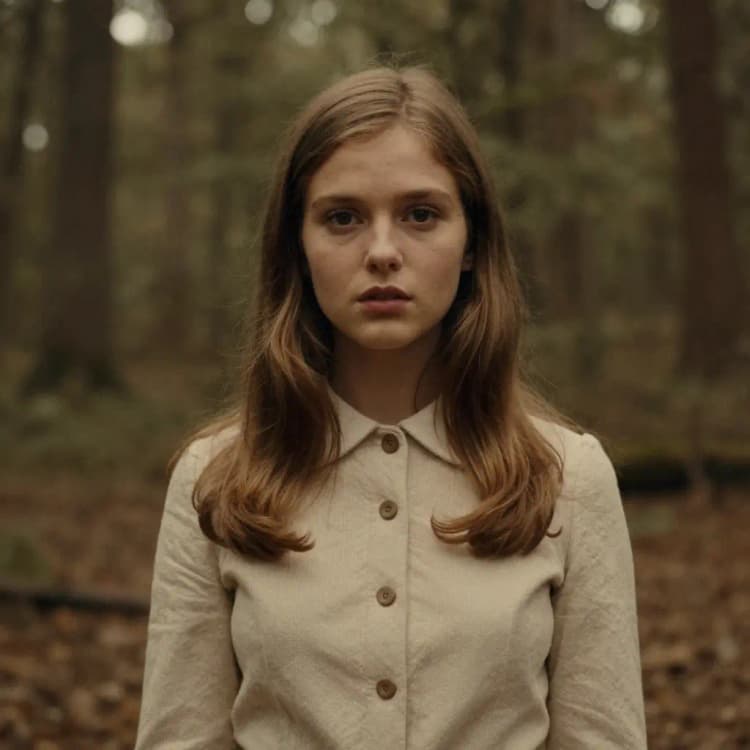
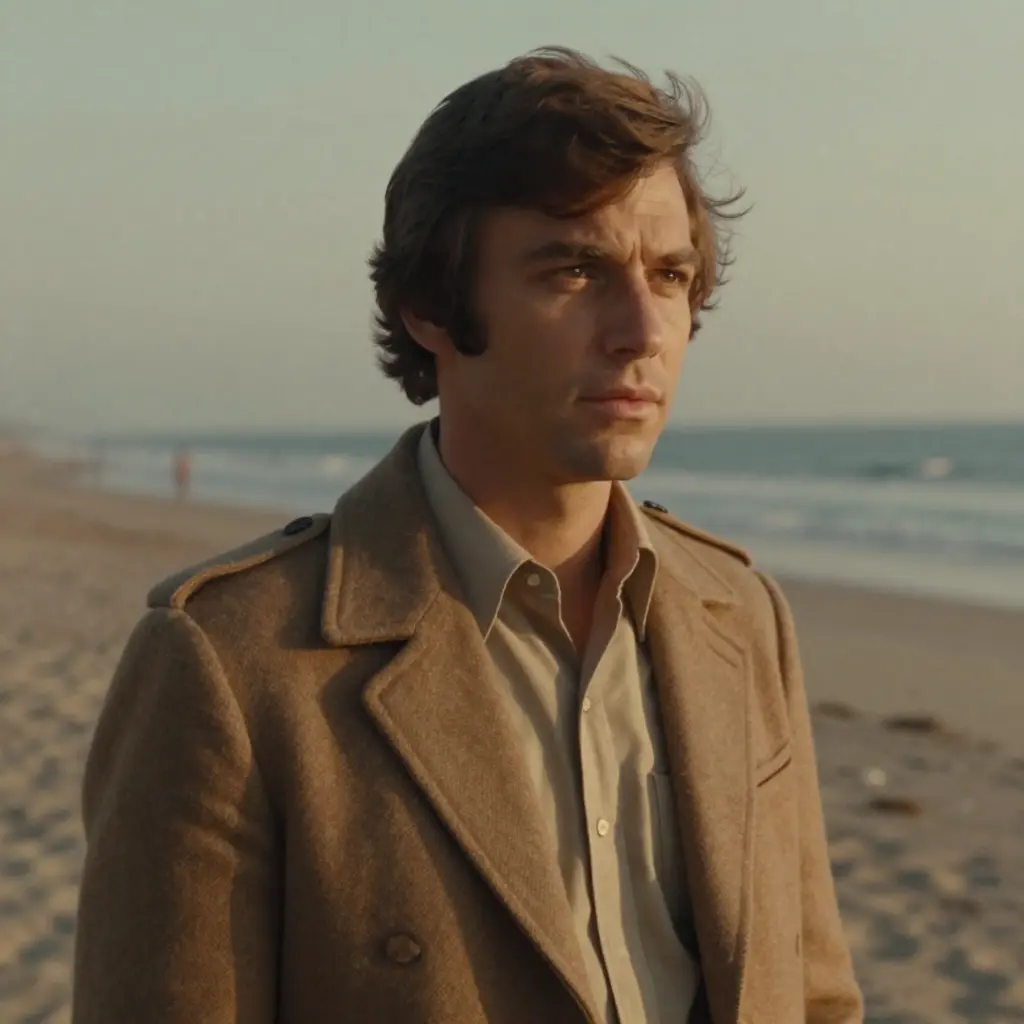
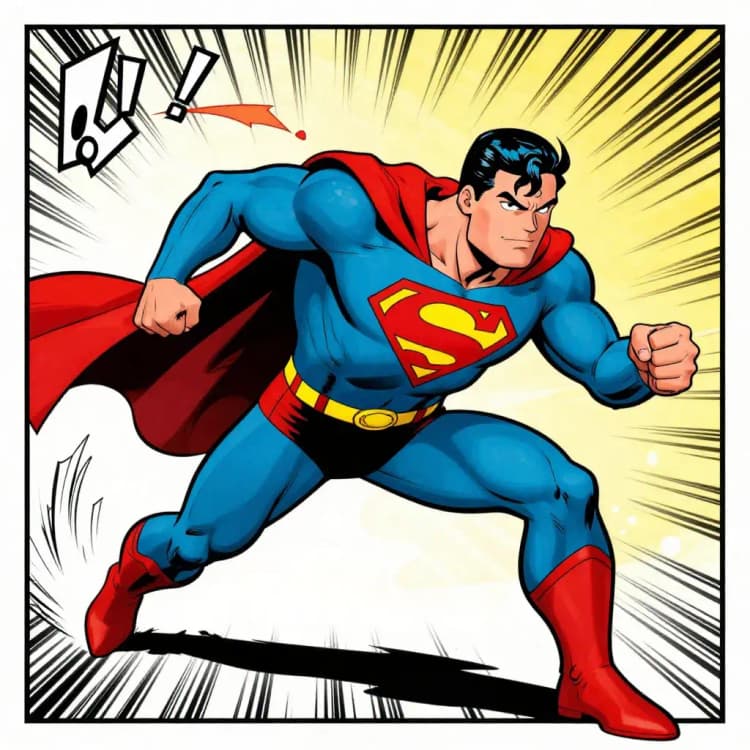
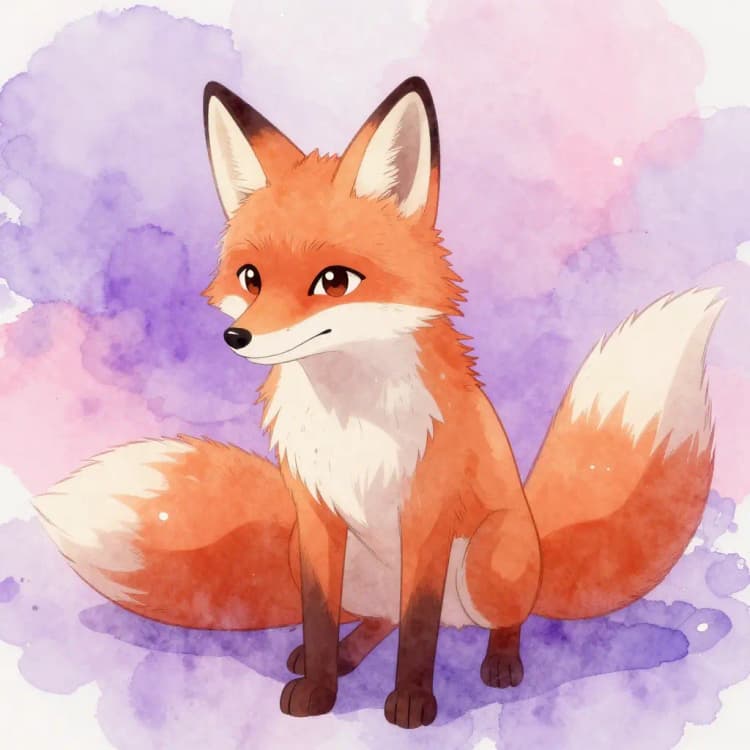
This workflow brings Z Image Turbo into ComfyUI so you can generate high resolution, photorealistic visuals with very few steps and tight prompt adherence. It is designed for creators who need quick, consistent renders for concept art, advertising comps, interactive media, and rapid A/B testing.
The graph follows a clean path from text prompts to an image: it loads the Z Image model and supporting components, encodes positive and negative prompts, creates a latent canvas, samples with an AuraFlow schedule, then decodes to RGB for saving. The result is a streamlined Z Image pipeline that favors speed without sacrificing detail.
Key models in Comfyui Z Image Turbo workflow#
- Tongyi-MAI Z Image Turbo. The primary generator that performs denoising in a distilled, step efficient manner. It targets photorealism, sharp textures, and faithful composition while keeping latency low. Model card
- Qwen 4B text encoder (qwen_3_4b.safetensors). Provides language conditioning for the model so that style, subject, and composition in your prompt guide the denoising trajectory.
- Autoencoder AE (ae.safetensors). Translates between latent space and pixels so the final Z Image result can be viewed and exported.
How to use Comfyui Z Image Turbo workflow#
At a high level the path runs from prompt to conditioning, through Z Image sampling, then decoding to an image. Nodes are clustered into stages to keep operation simple.
Model loaders: UNETLoader (#16), CLIPLoader (#18), VAELoader (#17)#
This stage loads the core Z Image Turbo checkpoint, the text encoder, and the autoencoder. Pick the BF16 checkpoint if you have it, as it balances speed and quality for consumer GPUs. The CLIP style encoder ensures your wording controls the scene and style. The AE is required for converting latents back to RGB once sampling finishes.
Prompting: CLIP Text Encode (Positive Prompt) (#6) and CLIP Text Encode (Negative Prompt) (#7)#
Write what you want in the positive prompt using concrete nouns, style cues, camera hints, and lighting. Use the negative prompt to suppress common artifacts like blur or unwanted objects. If you see a prompt preface such as an instruction header from an official example, you can keep, edit, or remove it and the workflow will still operate. Together these encoders produce the conditioning that steers Z Image during sampling.
Latent and scheduler: EmptySD3LatentImage (#13) and ModelSamplingAuraFlow (#11)#
Choose your output size by setting the latent canvas. The scheduler node switches the model to an AuraFlow style sampling strategy that aligns well with step efficient distilled models. This keeps trajectories stable at low step counts while preserving fine detail. Once the canvas and schedule are set, the pipeline is ready to denoise.
Sampling: KSampler (#3)#
This node performs the actual denoising using the loaded Z Image model, the selected scheduler, and your prompt conditioning. Adjust sampler type and step count to trade speed for detail when needed. The guidance scale controls prompt strength relative to prior; moderate values usually give the best balance of fidelity and creative variation. Randomize the seed for exploration or fix it for repeatable results.
Decode and save: VAEDecode (#8) and SaveImage (#9)#
After sampling, the AE decodes latents to an image. The save node writes files to your output directory so you can compare iterations or feed results into downstream tasks. If you plan to upscale or post process, keep the decode at your desired working resolution and export lossless formats for best quality retention.
Key nodes in Comfyui Z Image workflow#
UNETLoader (#16)#
Loads the Z Image Turbo checkpoint (z_image_turbo_bf16.safetensors). Use this to switch between precision variants or updated weights as they become available. Keep the model consistent across a session if you want seeds and prompts to remain comparable. Changing the base model will change look, color response, and detail density.
ModelSamplingAuraFlow (#11)#
Sets the sampling strategy to an AuraFlow style schedule suited to fast convergence. This is the key to making Z Image efficient at low step counts while preserving detail and coherence. If you swap schedules later, recheck step counts and guidance to maintain similar output characteristics.
KSampler (#3)#
Controls sampler algorithm, steps, guidance, and seed. Use fewer steps for rapid ideation and increase only when you need more micro detail or stricter prompt adherence. Different samplers favor different looks; try a couple and keep the rest of the pipeline fixed when comparing results.
CLIP Text Encode (Positive Prompt) (#6)#
Encodes the creative intent that drives Z Image. Focus on subject, medium, lens, lighting, composition, and any brand or design constraints. Pair with the negative prompt node to push the image toward your target look while filtering known artifacts.
Optional extras#
- Use square or near square resolutions for the first pass, then adjust aspect ratio once composition is locked.
- Keep a library of reusable prompt fragments for subjects, lenses, and lighting to speed up iteration across projects.
- For consistent art direction, fix the seed and vary only a single factor per iteration such as style tag or camera cue.
- If outputs feel over controlled, reduce guidance slightly or remove overly prescriptive phrases from the positive prompt.
- When preparing assets for downstream editing, export lossless PNGs and keep a record of prompt, seed, and resolution alongside each Z Image render.
Acknowledgements#
This workflow implements and builds upon the following works and resources. We gratefully acknowledge Tongyi-MAI for Z-Image-Turbo for their contributions and maintenance. For authoritative details, please refer to the original documentation and repositories linked below.
Resources#
- Tongyi-MAI/Z-Image-Turbo
- Hugging Face: Tongyi-MAI/Z-Image-Turbo
Note: Use of the referenced models, datasets, and code is subject to the respective licenses and terms provided by their authors and maintainers.
